Your basket is currently empty!
Easy guide to build interior and exterior timber framed walls for a garden room
5 minute readIn this chapter I will be building the timber framed walls. More unusually for a garden room we will have both external walls and internal walls as we will be using a method of soundproofing known as “room in a room”.
Contents
Introduction
In this post I’ll be covering how I built the timber framed walls for the garden room. There’s quite a lot to do because we’re constructing a “room within a room,” which means two separate wall structures: both the external frame and the internal frame.
Using SketchUp to design your timber framed walls
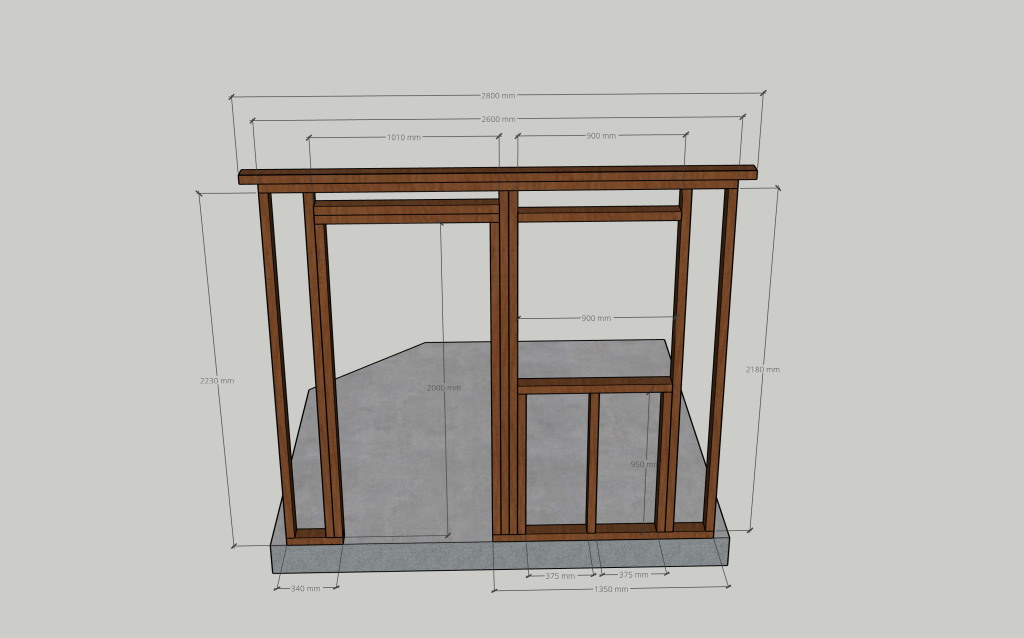
Before starting construction, I used SketchUp’s “dimension” tool to create accurate plans of each wall, including every measurement for every component and negative space. I took a screenshot of each wall panel with the dimensions applied and printed it. This made the whole process far more efficient, for sure saved time when it came to cutting and assembling the frames. I would recommend SketchUp if you’re considering a similar build and doing a similar exercise.
Cutting the Base and Top Plates
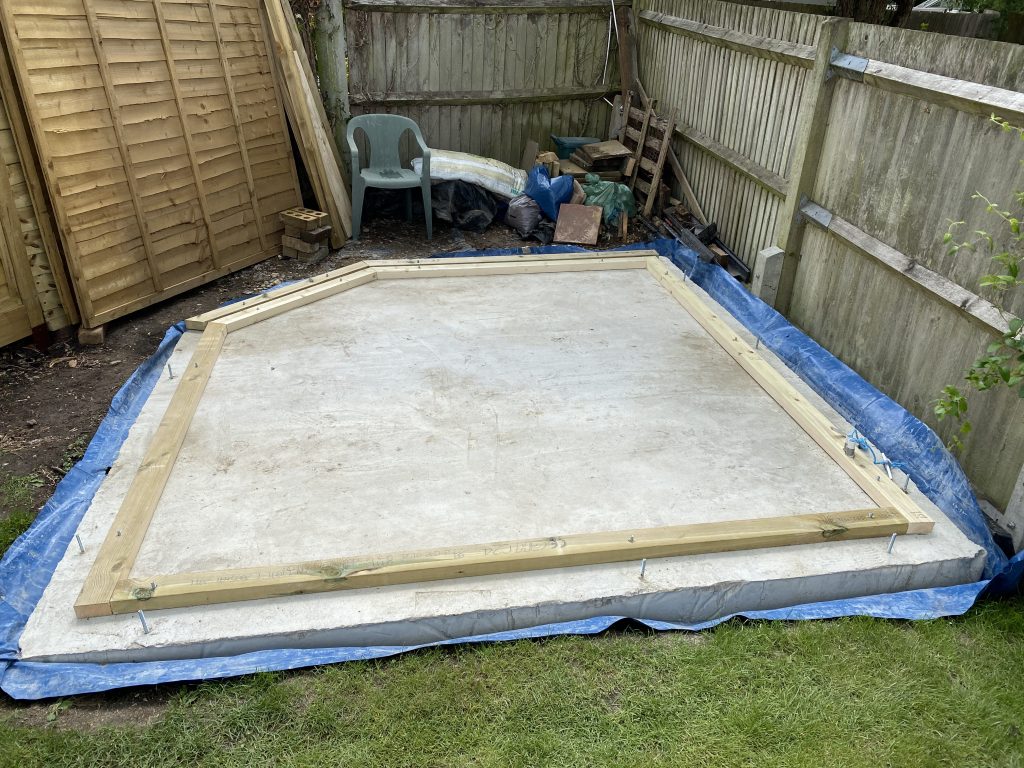
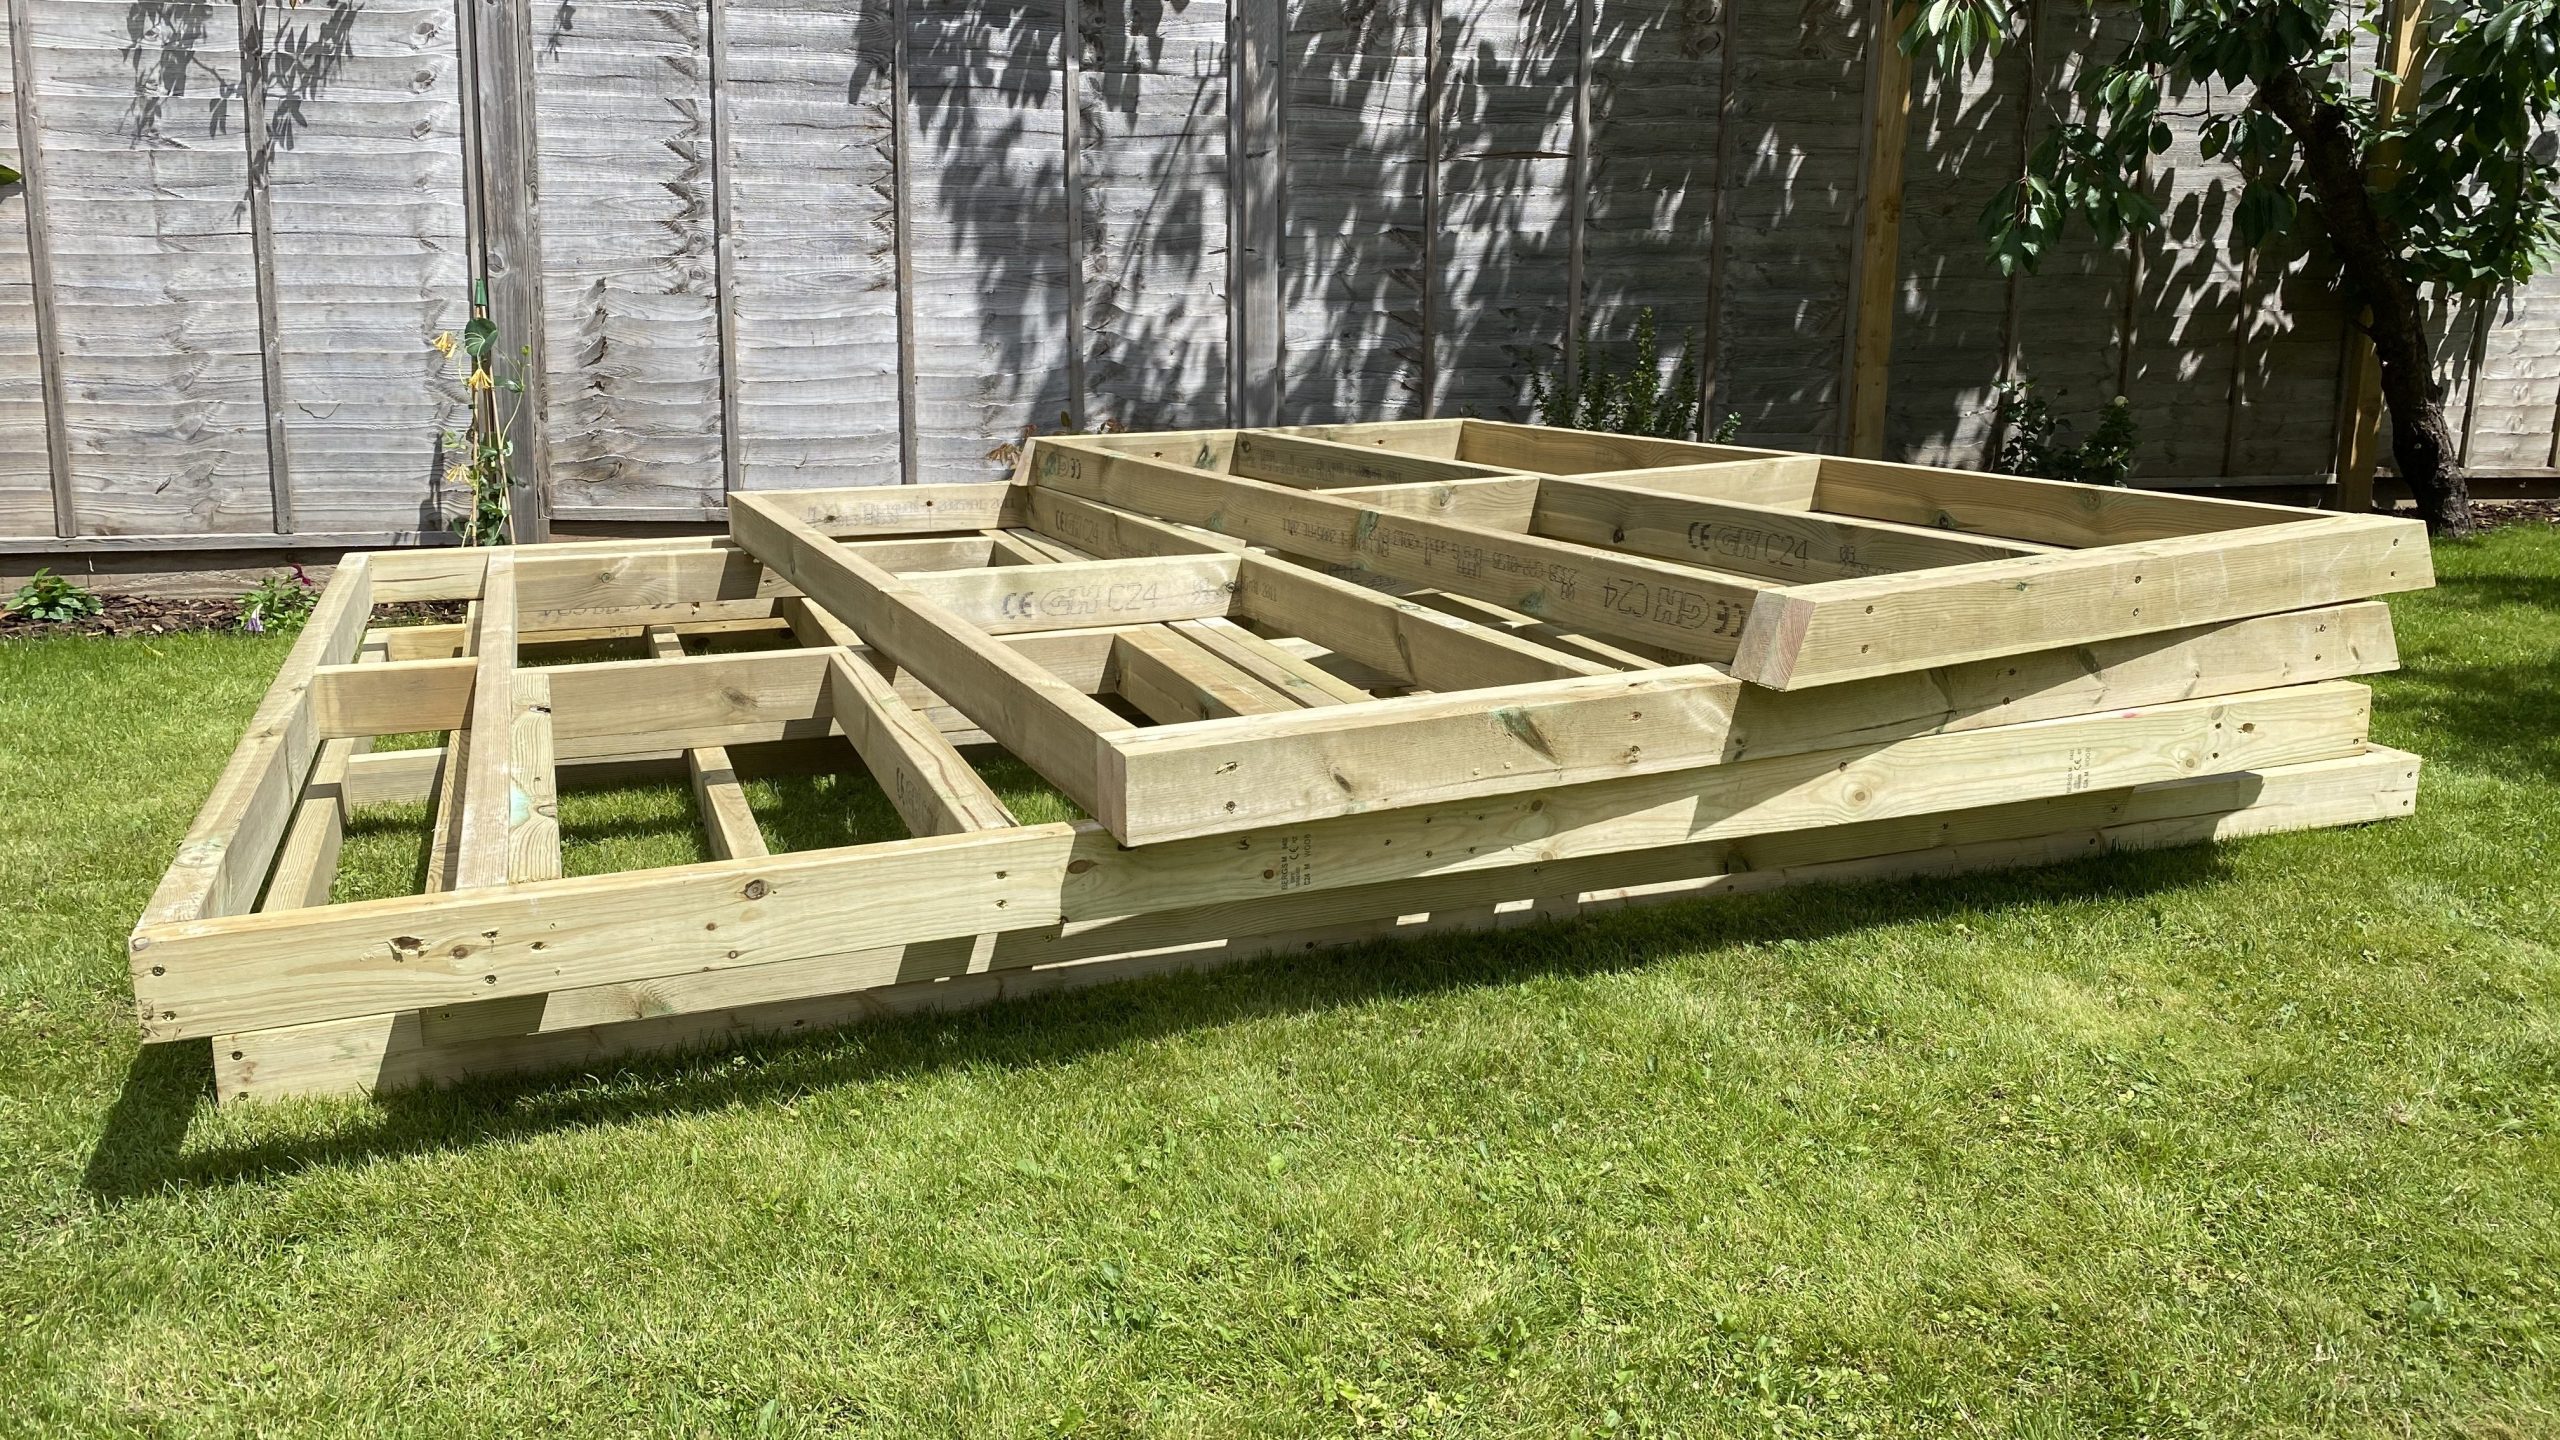
I started off by cutting the base plates for each exterior wall, marking each joint, and drilling holes for fixing bolts to the concrete foundation. The best method for this is to push the timber down on top of the bolt studs to leave an impression, then you have the exact location to drill the holes. Once that was done, I made identical copies of these timbers for the top plates. I then cut the supporting studs to size, ready for assembly.
Assembling the Stud Walls
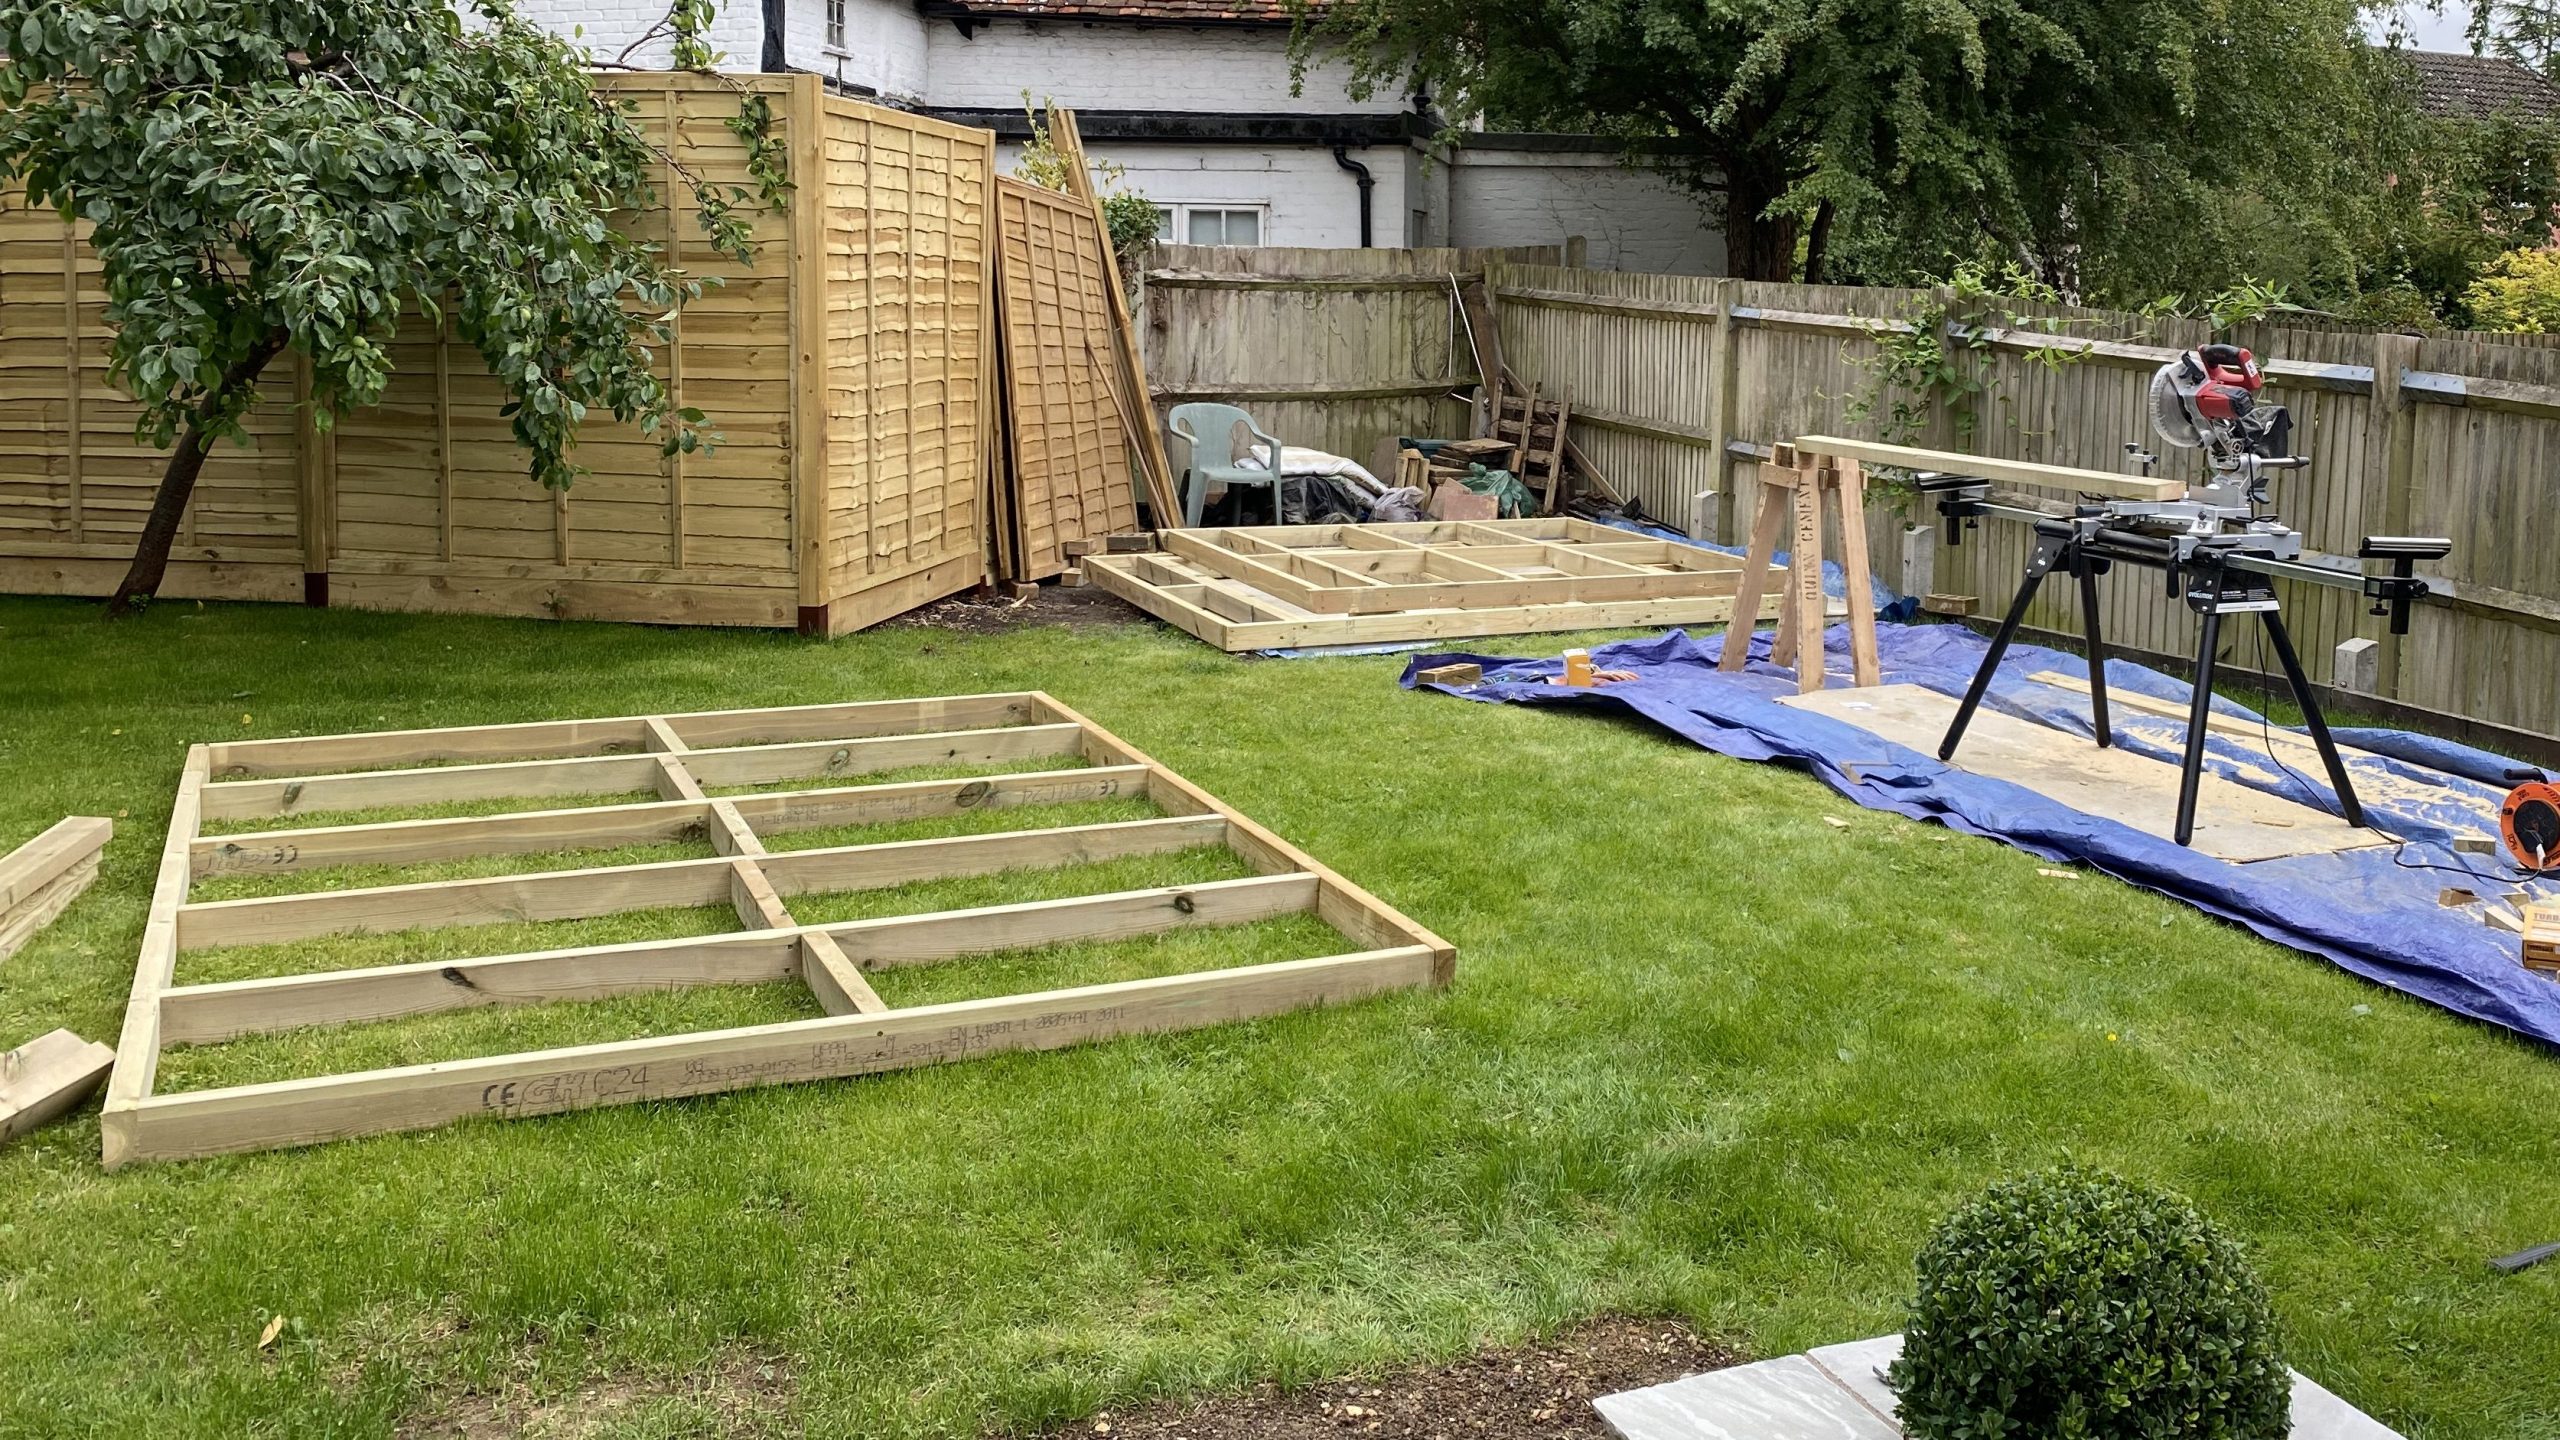
With all the timber cut, it was time to assemble the stud walls. Each stud was carefully measured and positioned to ensure the walls would align perfectly once raised.
Damp Proof Course
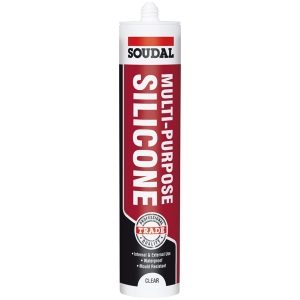
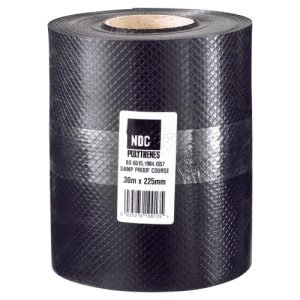
It is important (and standing building practice) to use a damp proof course between the concrete and the timber. This layer prevents any water from rising up through the concrete overtime and being absorbed into the wood. I also used a layer of silicon to help prevent any water entering the room sidewards.
External Walls
I raised each wall in turn, fixing them securely to the base plates and adding a fixed or two to keep them supported. Once all the walls were up, I ensured they were square and plumb. Cross-bracing helped maintain stability as the structure began to take shape.
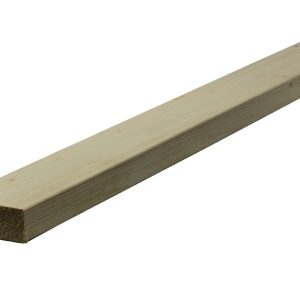
I used external grade / treated C24 timber for the frame as this is best practice for external walls to help protect against moisture. Specifically I used 100mm x 47mm, and generally bought in 2.4m, 3m, or 4.8m lengths. I used 5mm x 100mm screws for fixing the timbers together.
Internal Walls
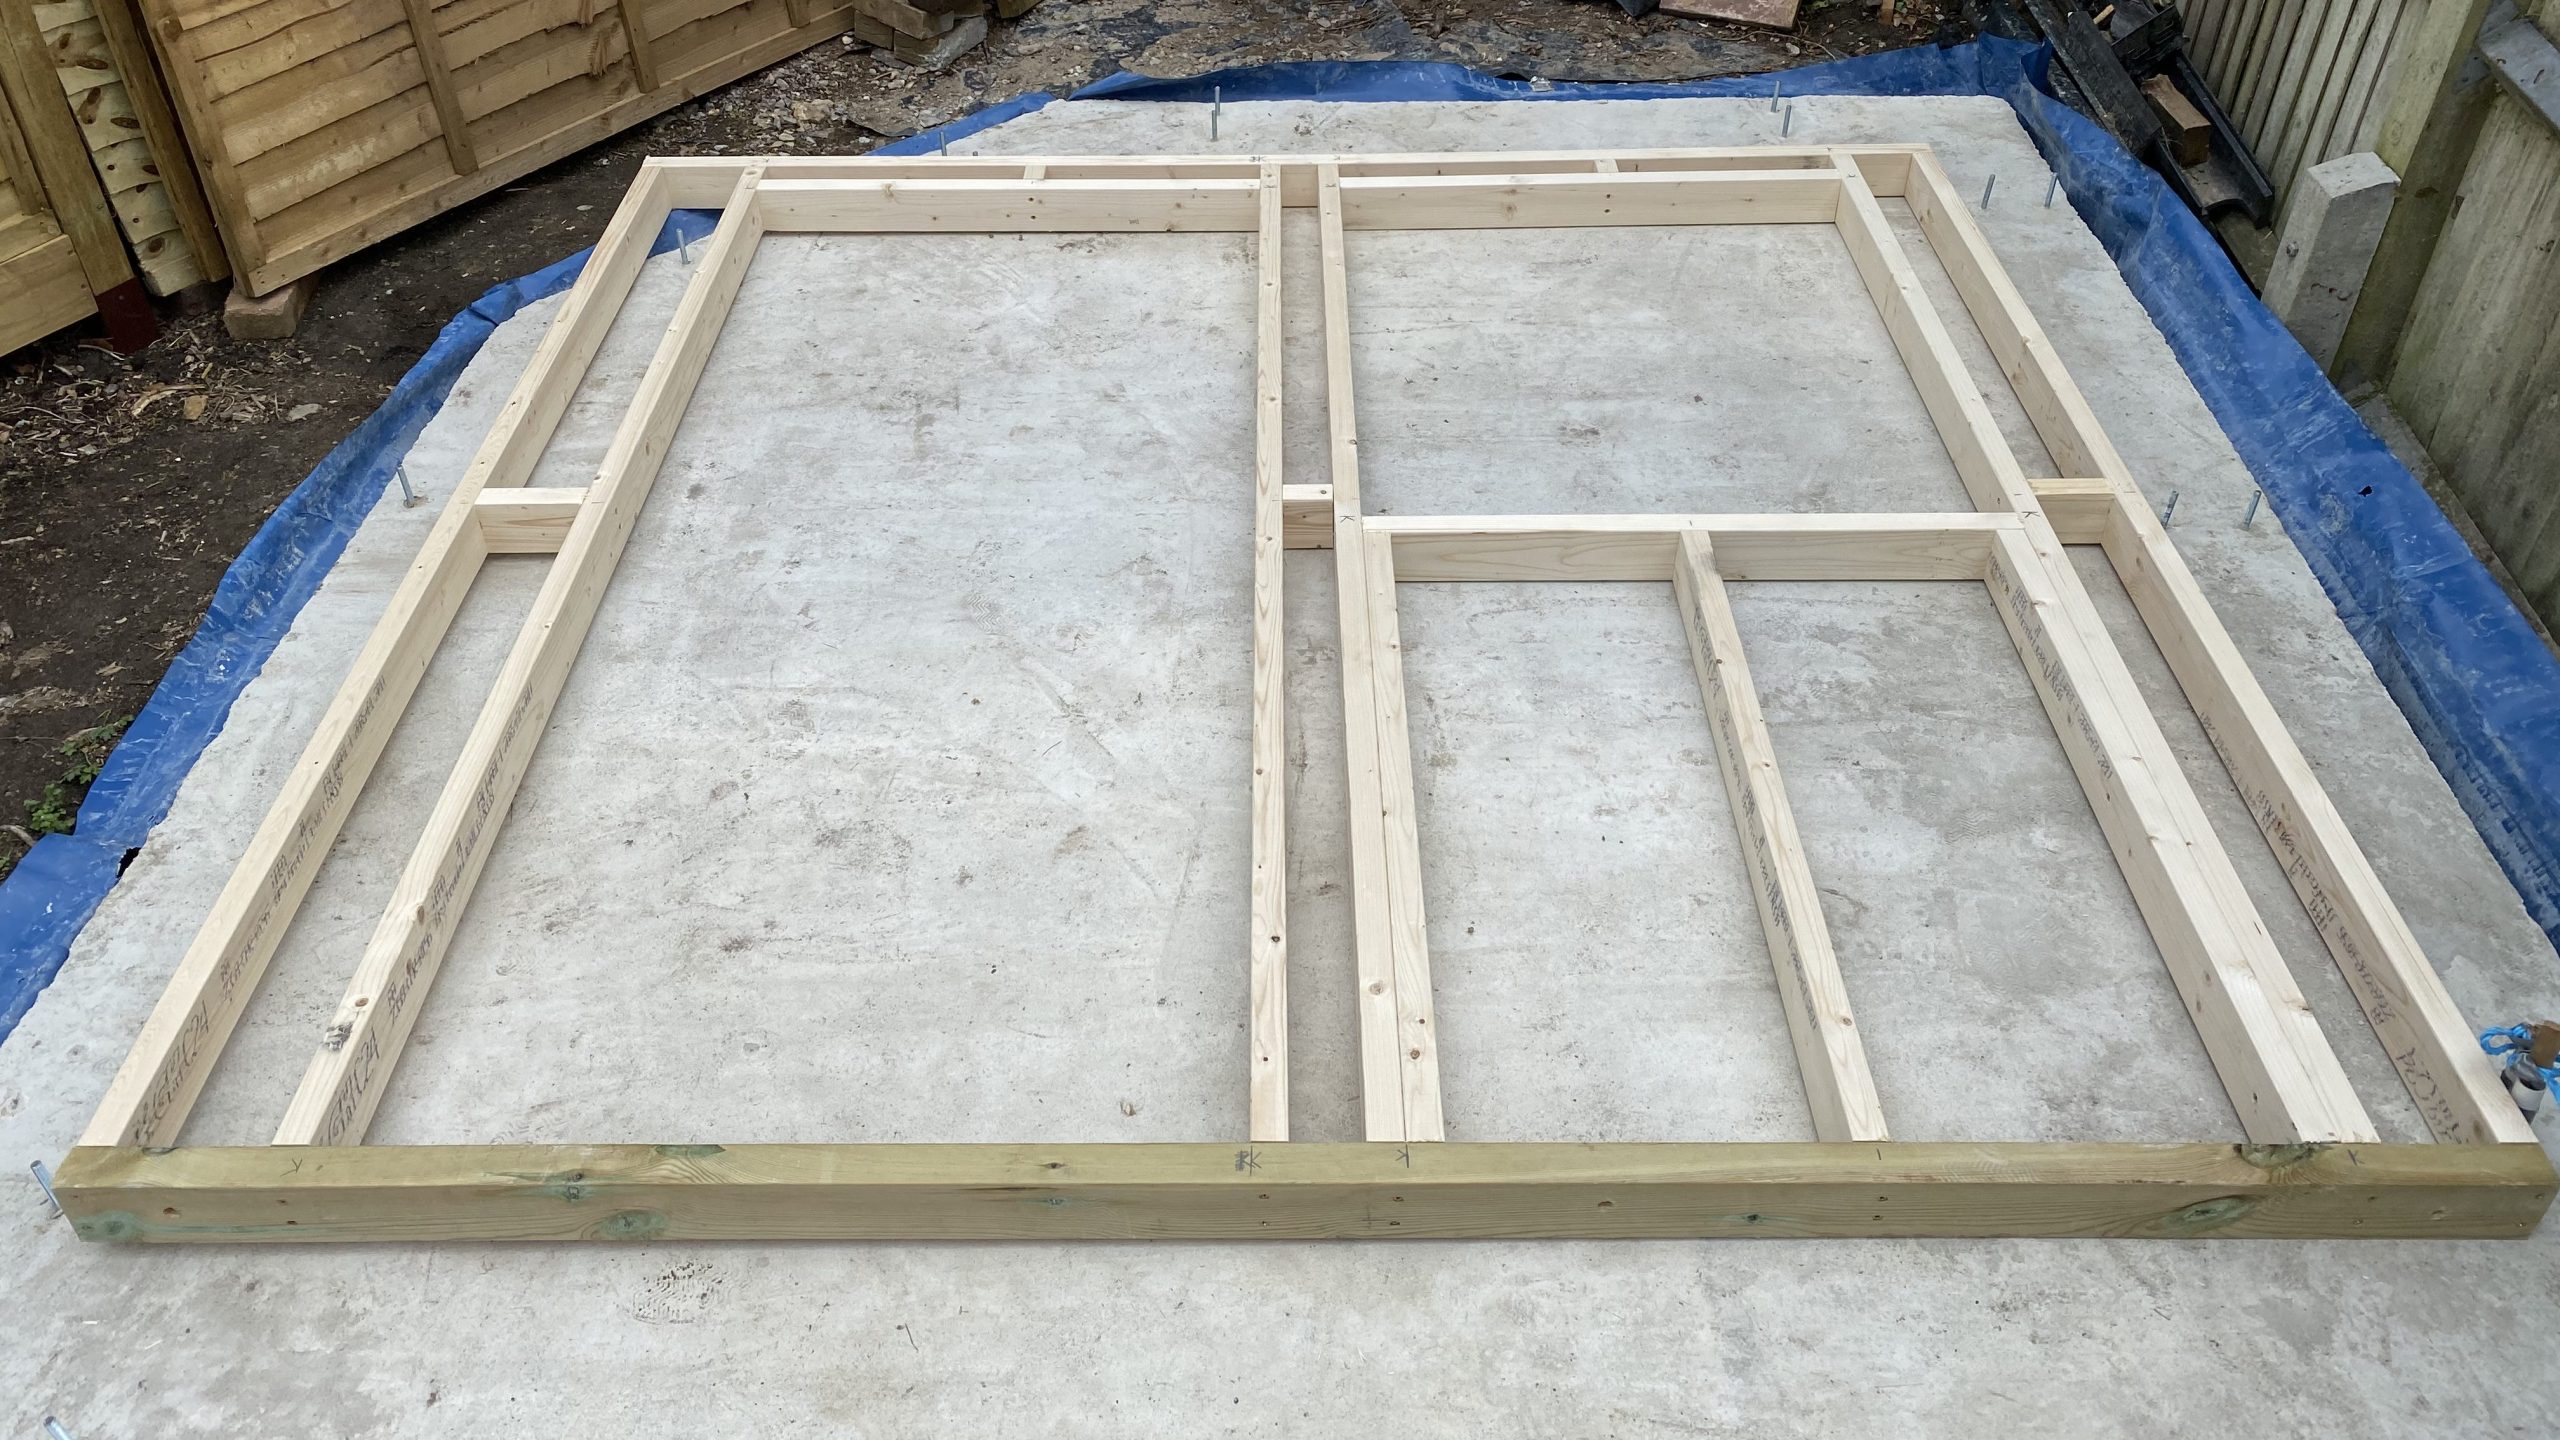
Next came the internal frame — the second “room” of the room-within-a-room design. This inner wall was set slightly inside the external frame to maintain the air gap, which is crucial for this soundproofing technique. I repeated the process of cutting, assembling, and raising the internal walls.
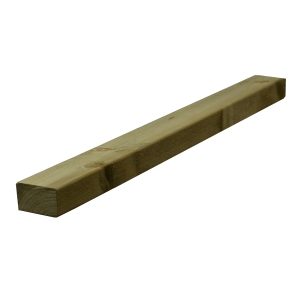
In terms of timber, I used treated timber for the baseplate, but ordinary untreated ‘CLS studwork’ timber for the internal walls. I used 5mm x 80mm screws for fixing, as the CLS timbers are smaller dimensions compared to the regularised treated timber.
Soundproofing Considerations
This double-wall system is the core of the soundproofing design. By separating the internal and external walls with a small gap, vibrations and noise transfer are reduced. In later stages we will add sound insulation and sound plasterboard layers to further improve acoustic performance.
Conclusion and Next Steps
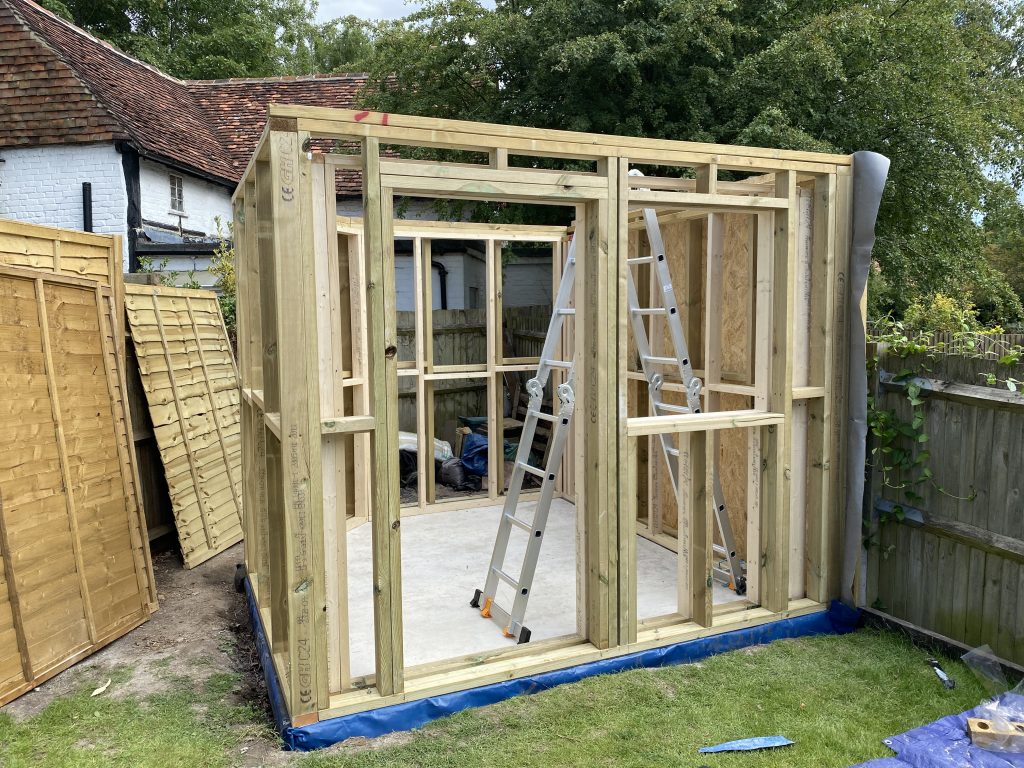
With both sets of walls complete, the studio’s main structure is now visible. The next stage will focus on the roof construction and additional soundproofing measures.
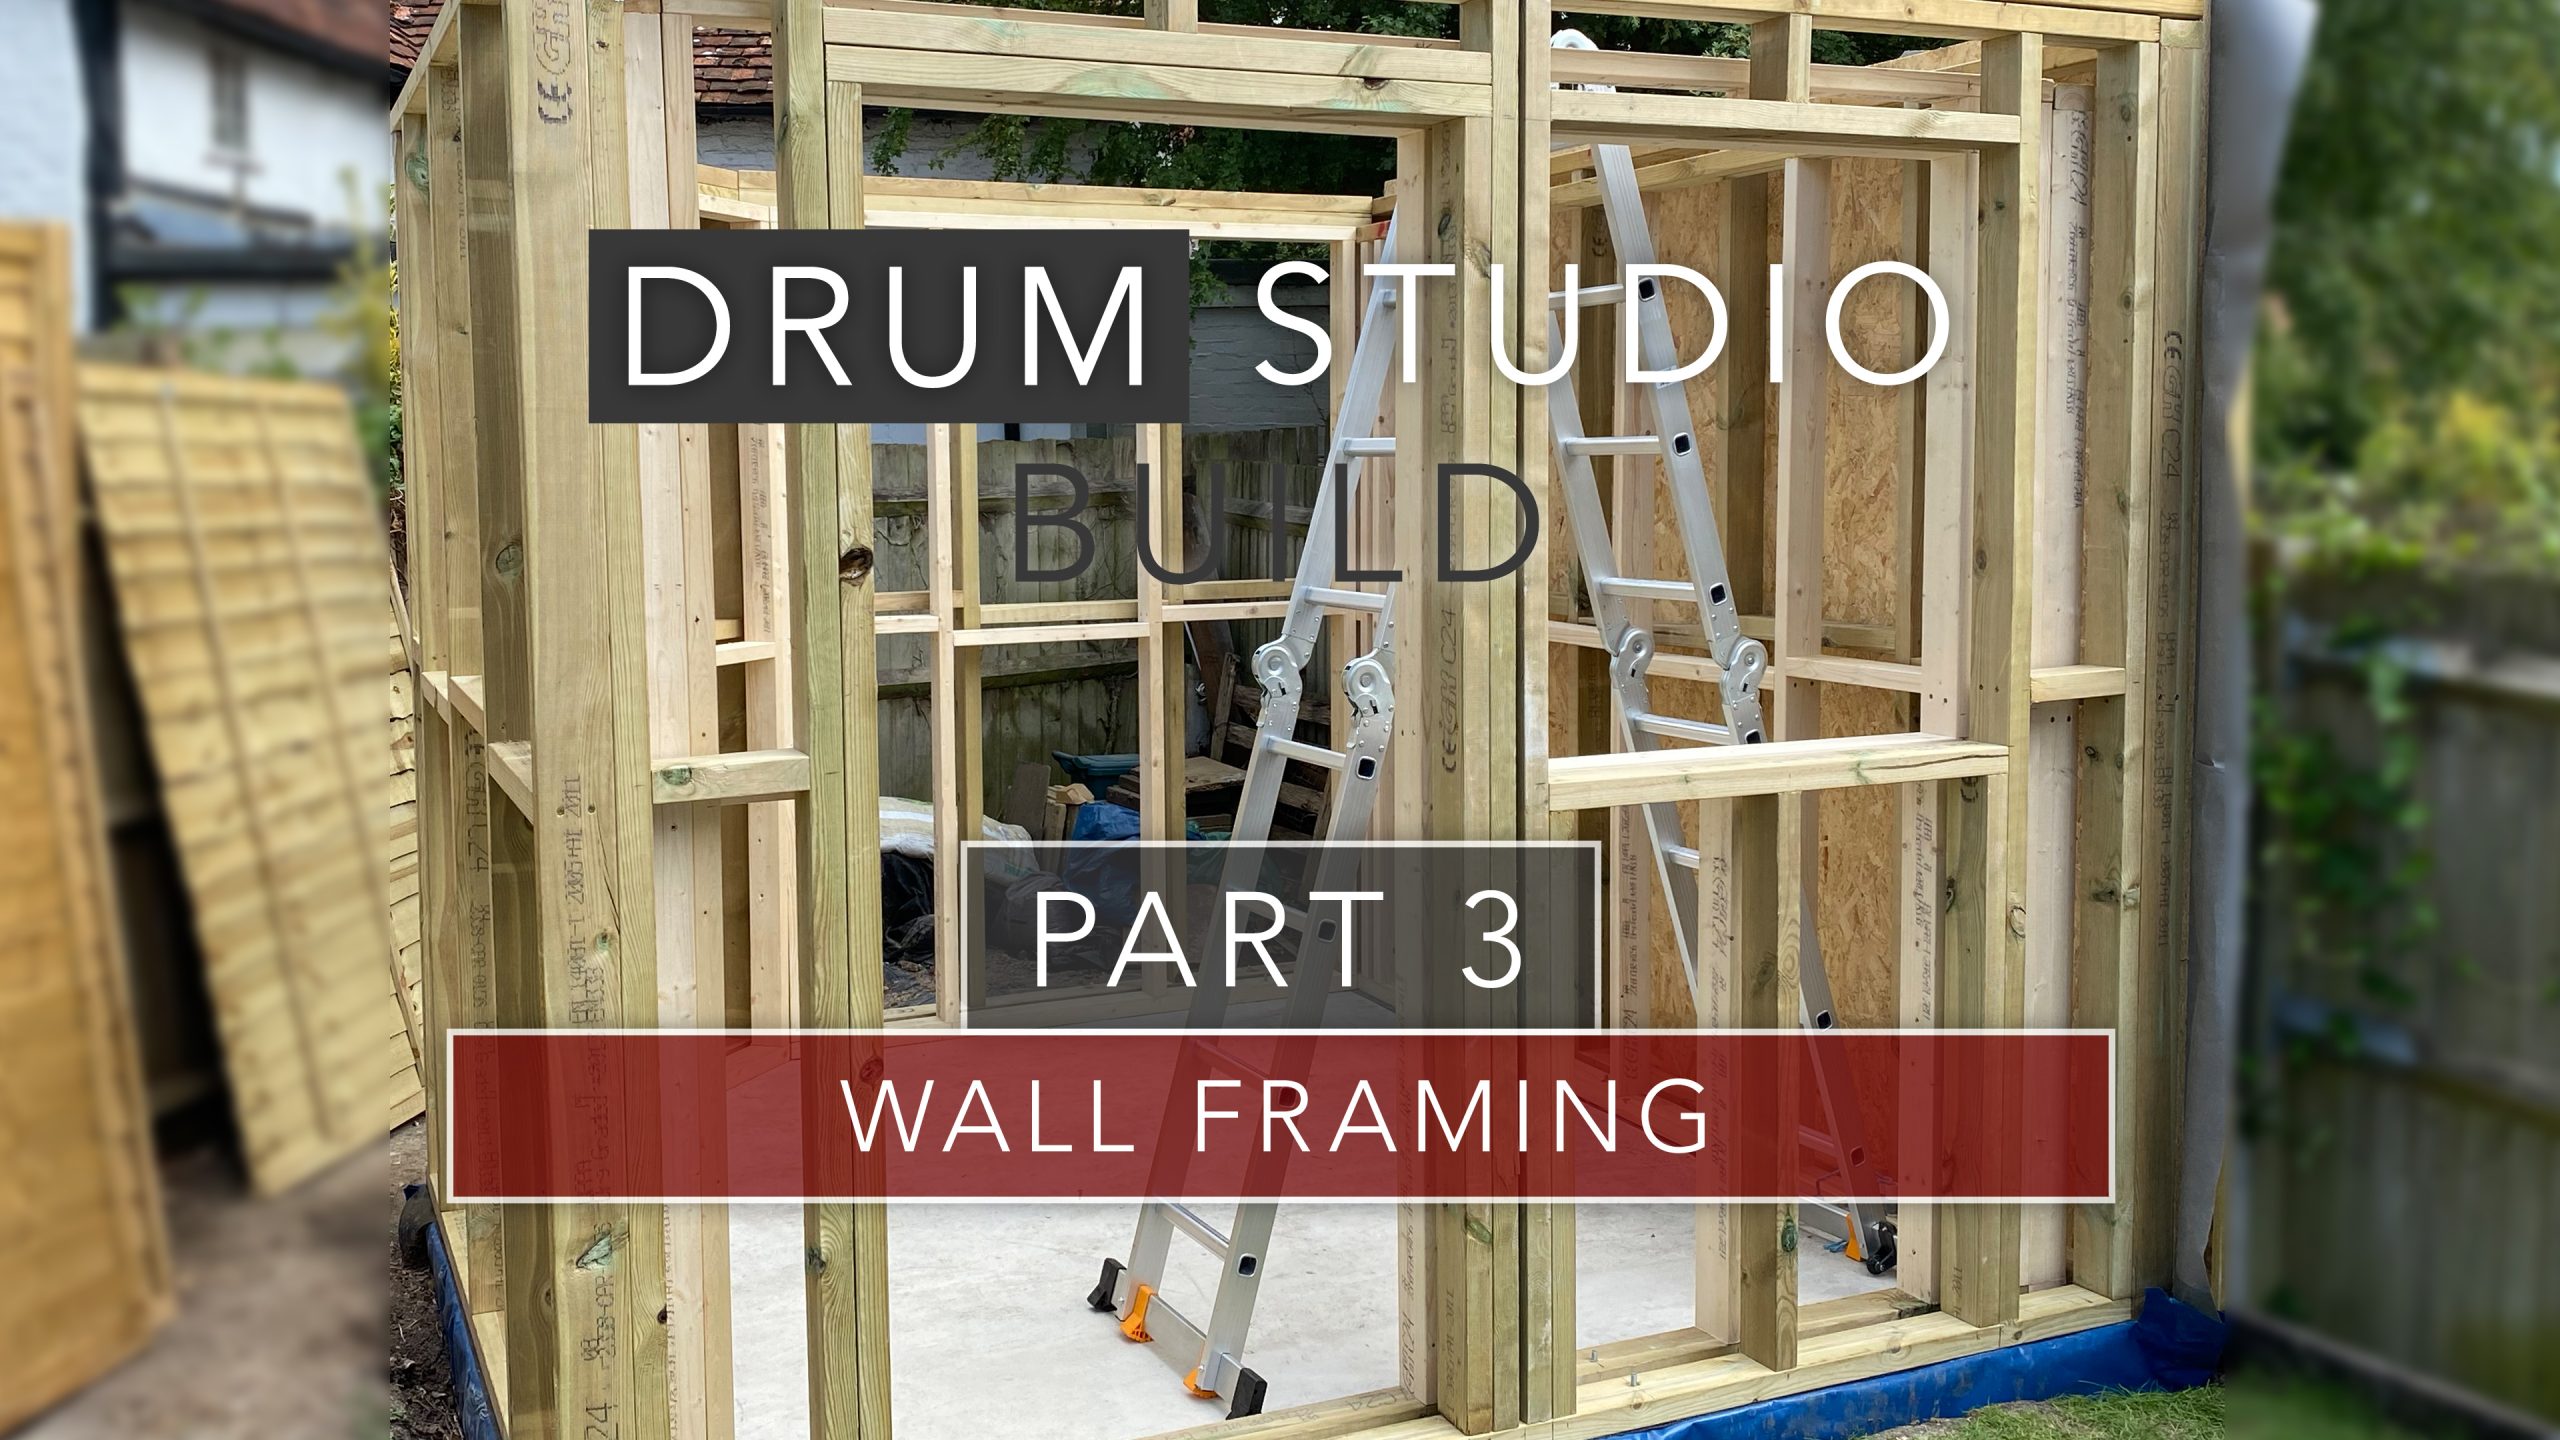
You may notice in the below picture that one wall is already clad with OSB. In fact, I have fully completed this exterior panel as access to the side is very limited with the fence. You can skip to part 8 to see the cladding process.
Products Used
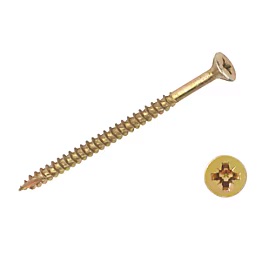
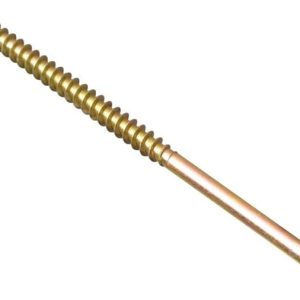
TurboGold PZ Double-Countersunk Multipurpose Screws 5mm x 80mm
Soudal 270ml Multipurpose Clear Silicone
38mm x 89mm x 2.4m CLS Studwork Timber
C24 100mm x 47mm x 3m Regularised Treated Sawn Timber
C24 100mm x 47mm x 2.4m Regularised Treated Sawn Timber
Multi-Purpose Single Thread Screws 5.0 x 100mm
DPC Damp Proof Course
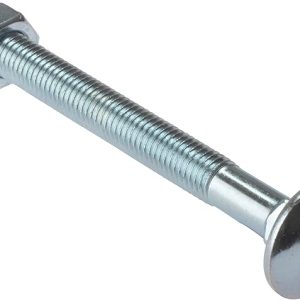
M10 130mm Carriage Bolt and Nuts
Leave a Reply
You must be logged in to post a comment.