Your basket is currently empty!
The ultimate how to guide for building a concrete slab base for your garden room
8 minute readIn this post we go step by step through the process I followed to build the concrete slab base used as the foundation of the garden room. We will cover digging the hole, added crushed hardcore, sand, damp proof membrane, PIR insulation, A142 mesh, cable ducting, the concrete pour, levelling and anchor bolts.
Contents
Introduction
There are several types of foundation you can use for your garden room, including a concrete slab base, ground srews, brick pillars and others. I decided the best option for my situation was a concrete slab base. In this article I will show you the steps I took to get to the finished article.
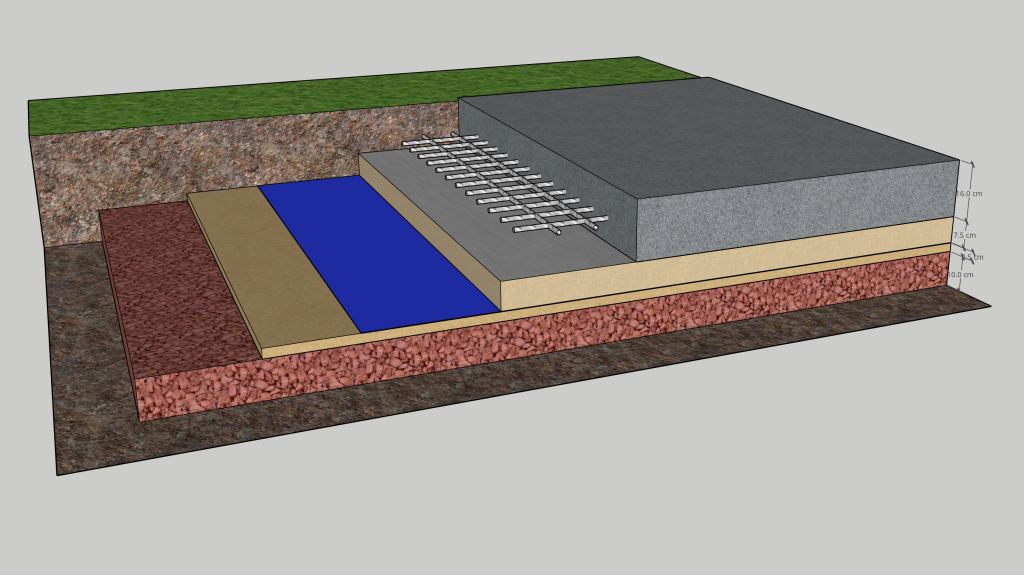
In summary, I started off by digging a hole about 350mm deep. I filled it with 100mm of compacted hardcore, followed by 25mm of sand. On top of that went a damp-proof membrane, 75mm thick insulation, and A142 mesh (also known as concrete rebar). Finally, I poured in Ready Mix C25 cement.
You can see approximately the thickness of each layer in this cross-section of the concrete slab base below. That’s the theory — now let’s get into the actual build.
Digging the Foundation
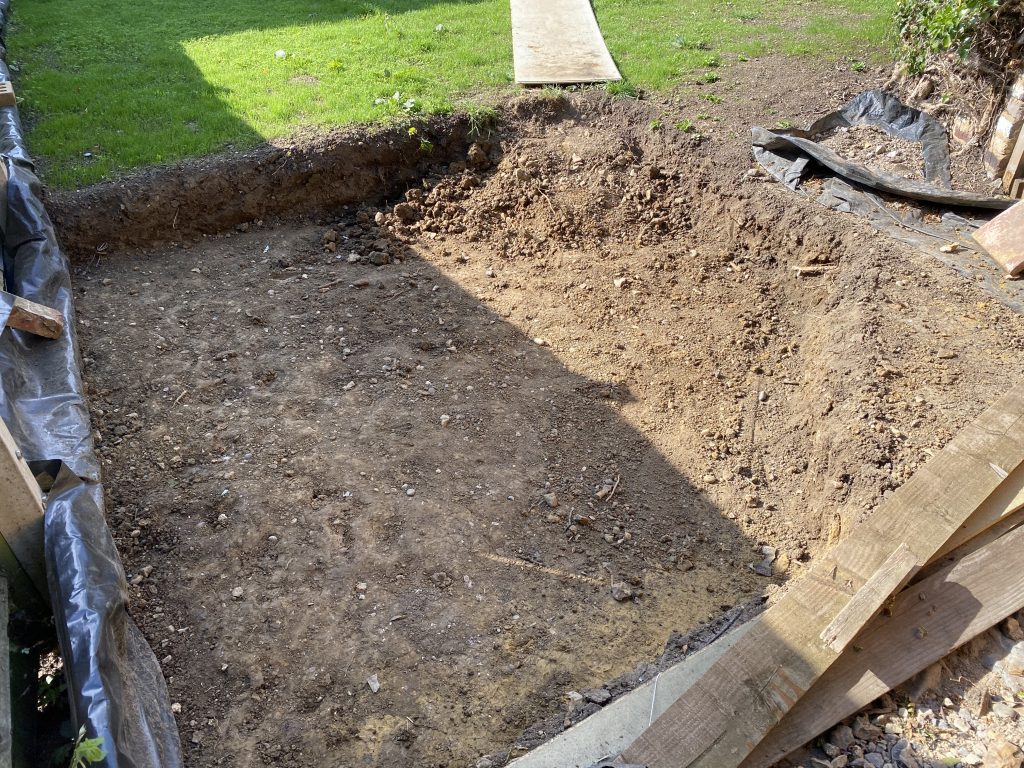
Pretty straightforward, not much else to add. Mark out the location of where your garden room will be located, and dig a hole!
Creating the Frame (Shuttering/Formwork)
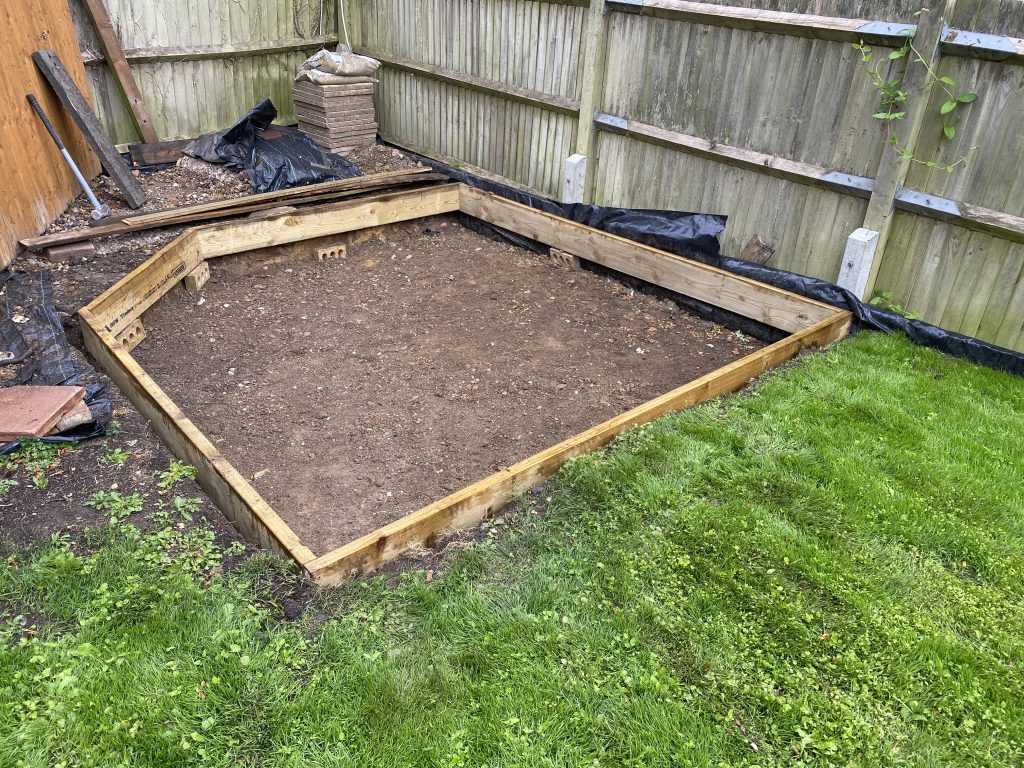
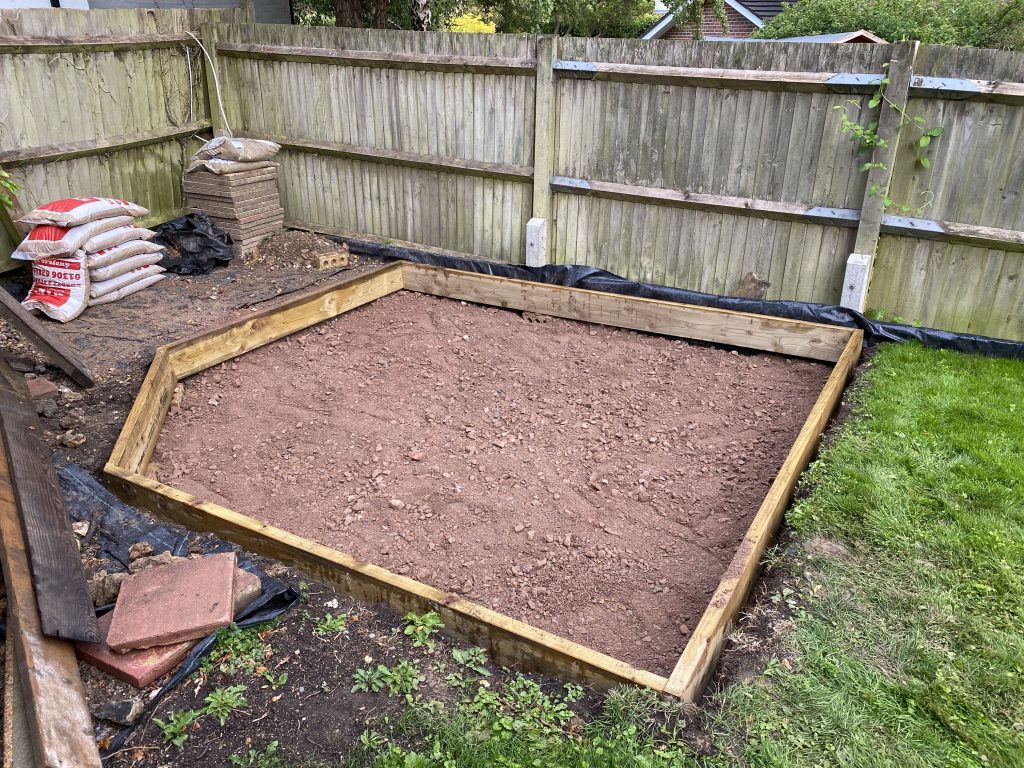
Now that the hole is dug, the first step is to insert the frame — also known as shuttering or formwork. This sits inside the hole and creates a structure for the concrete to be poured into. Once the concrete slab base is cured, we will remove the frame.
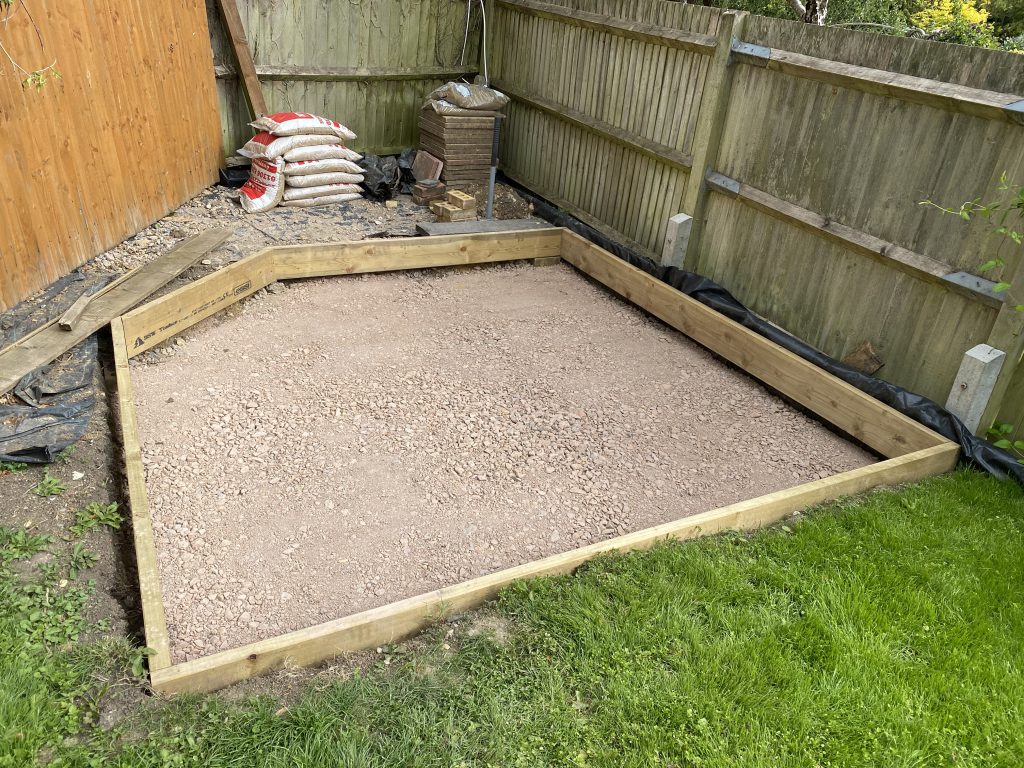
After a test fit, I realised I needed to chip away at the edges a bit more to get a snug fit. Once the frame was in place and level, I started backfilling with MOT Type 1 hardcore.
Compacting the Hardcore
With the MOT on site, I levelled it out to form a solid base for the next layers. Due to the coronavirus lockdowns, I couldn’t get a compactor, so I improvised using a lump hammer — surprisingly effective.
It’s important to use proper materials and not just rubble or old bricks. Compaction ensures there are no air gaps, which can otherwise lead to movement, settlement, or cracks in the concrete floor later.
Laying the Sand and Damp-Proof Membrane
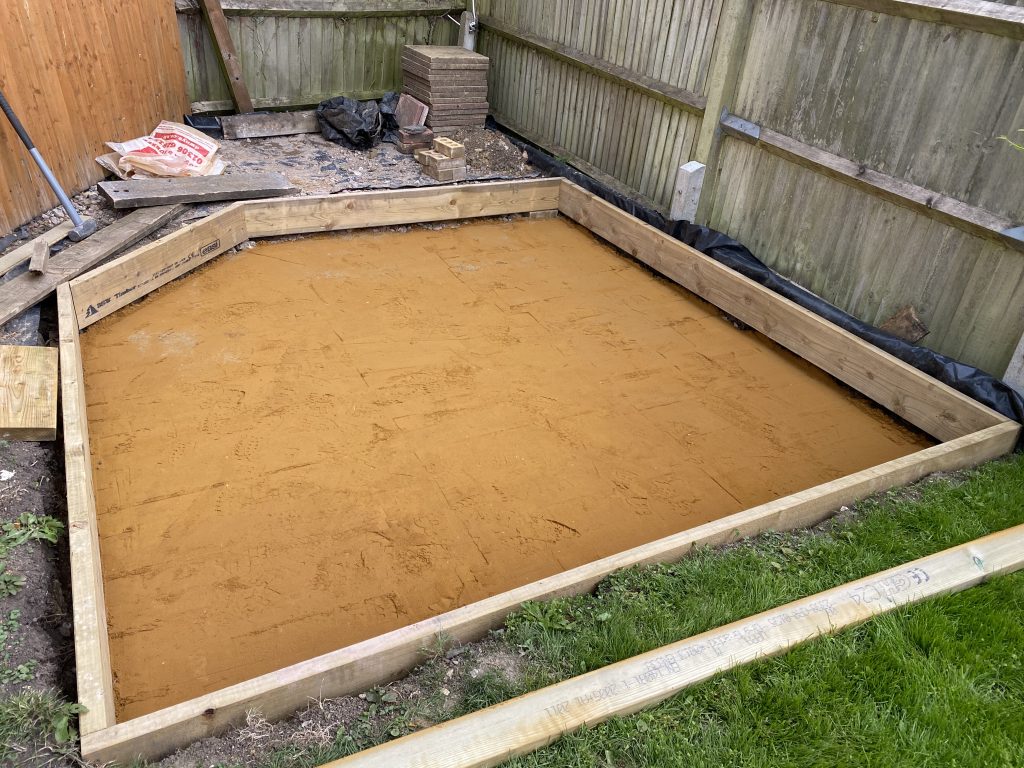
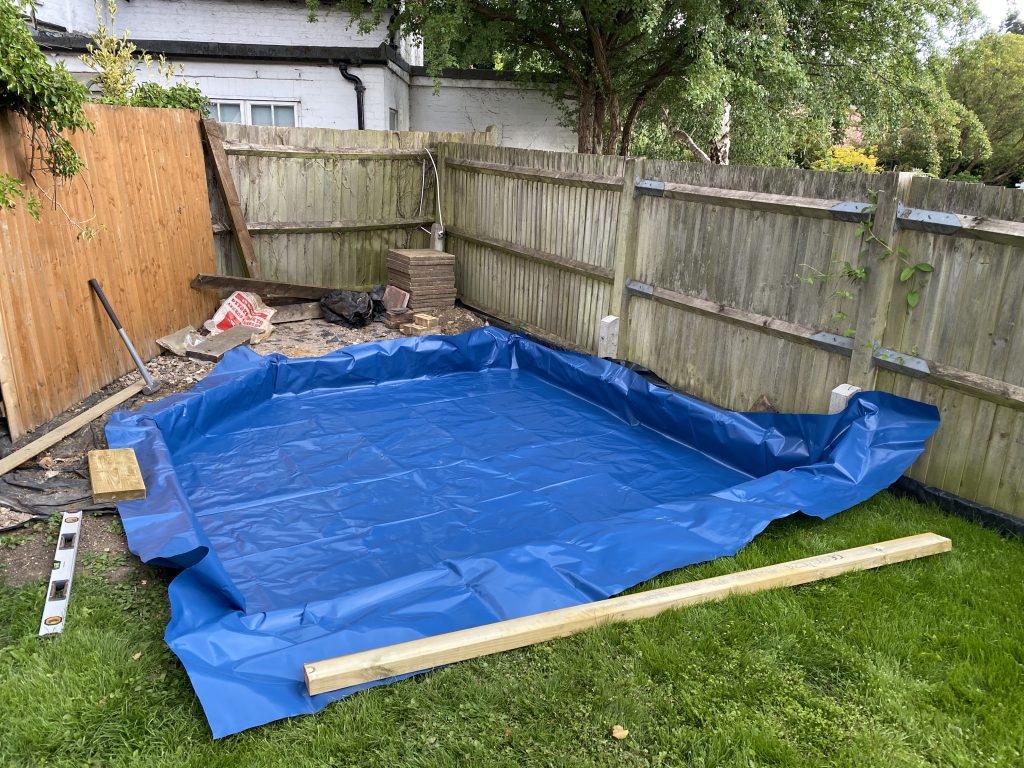
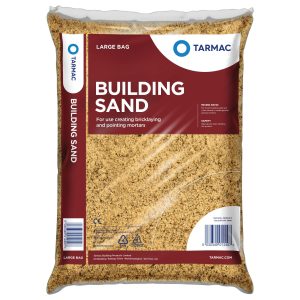
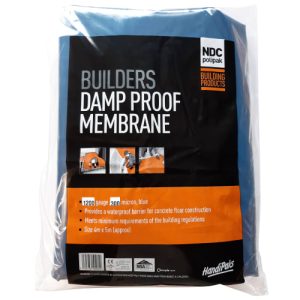
The next step was to add approximately 25mm thick layer of sand. This provides protection for the damp-proof membrane, which goes on next. The sand helps prevent sharp objects from puncturing the membrane and ensures it remains effective.
Why I Chose a Concrete Slab Base
One key reason I’m using a concrete base is to maximise ceiling height. Planning restrictions limit overall height, so by embedding the base close to ground level and insulating beneath it, I can keep the internal floor low and gain valuable headroom.
Adding Insulation and Sealing Joints
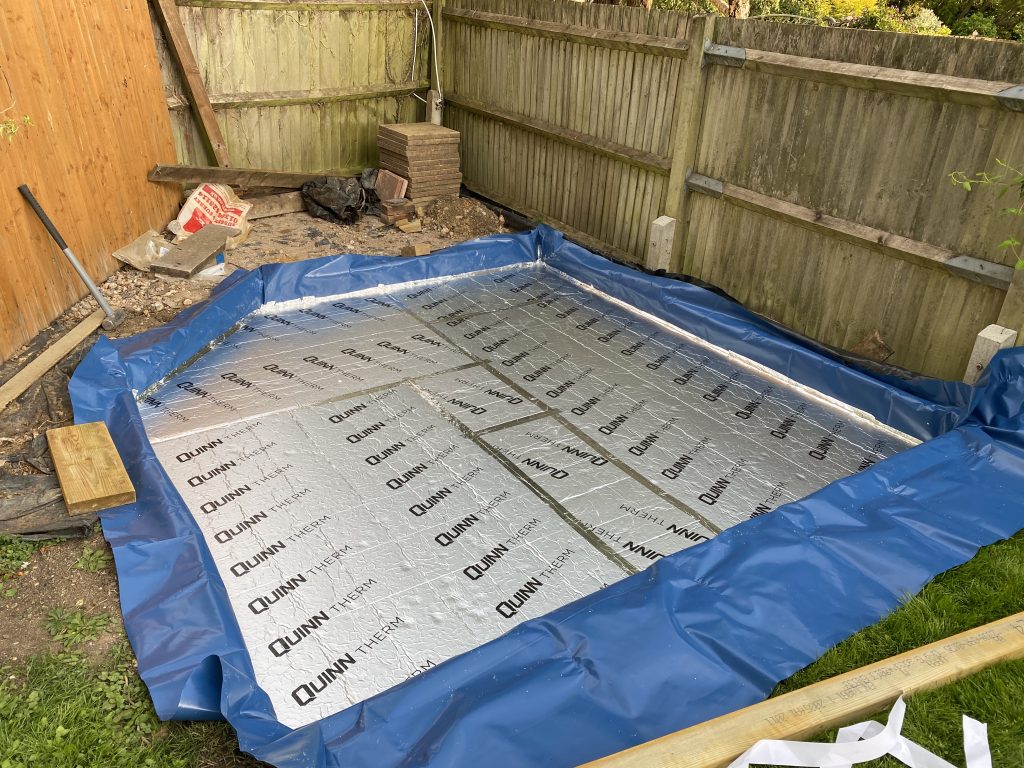
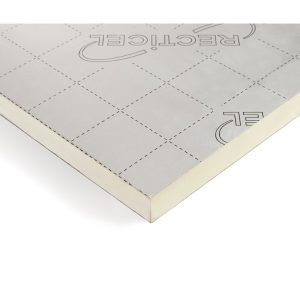
I installed 75mm Quinn Therm insulation beneath the concrete for thermal efficiency. To improve performance and prevent concrete from seeping through gaps, I sealed the joints with aluminium foil tape, forming a continuous barrier.
Reinforcement Mesh Installation
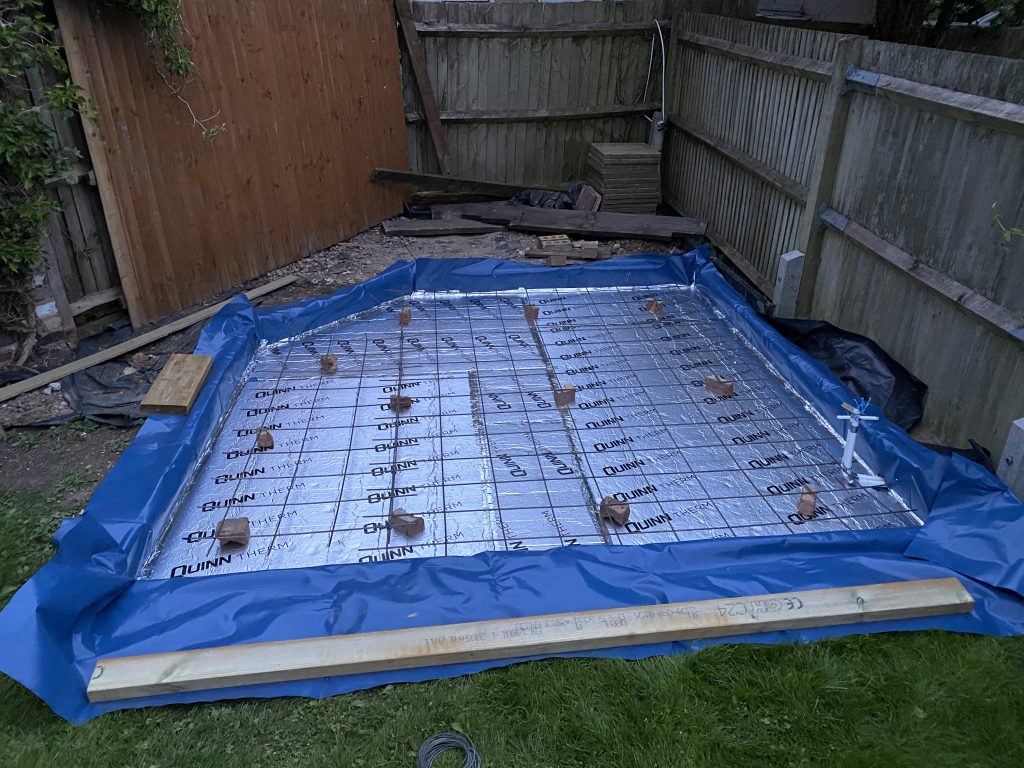
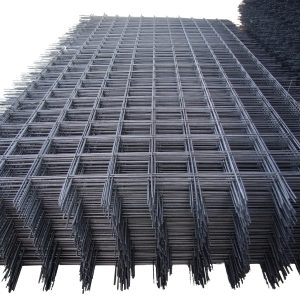
I cut the A142 steel mesh to size. If you don’t have an angle grinder, you can use a hack saw. Each panel is 3.6m x 2.2m with 200mm apertures and 6mm thick bars — more than enough for this project. I raised the mesh off the ground on broken bricks (6–8cm) to position it a third of the way up from the slab for optimal strength. You can get purpose designed risers, but for the size of this project the bricks will surface.
I then tied the pieces together using wire and secured the ducting in place. It’s also important to leave around 10cm clearance from the mesh to the slab edges.
Planning for Services (Electrical Ducting)
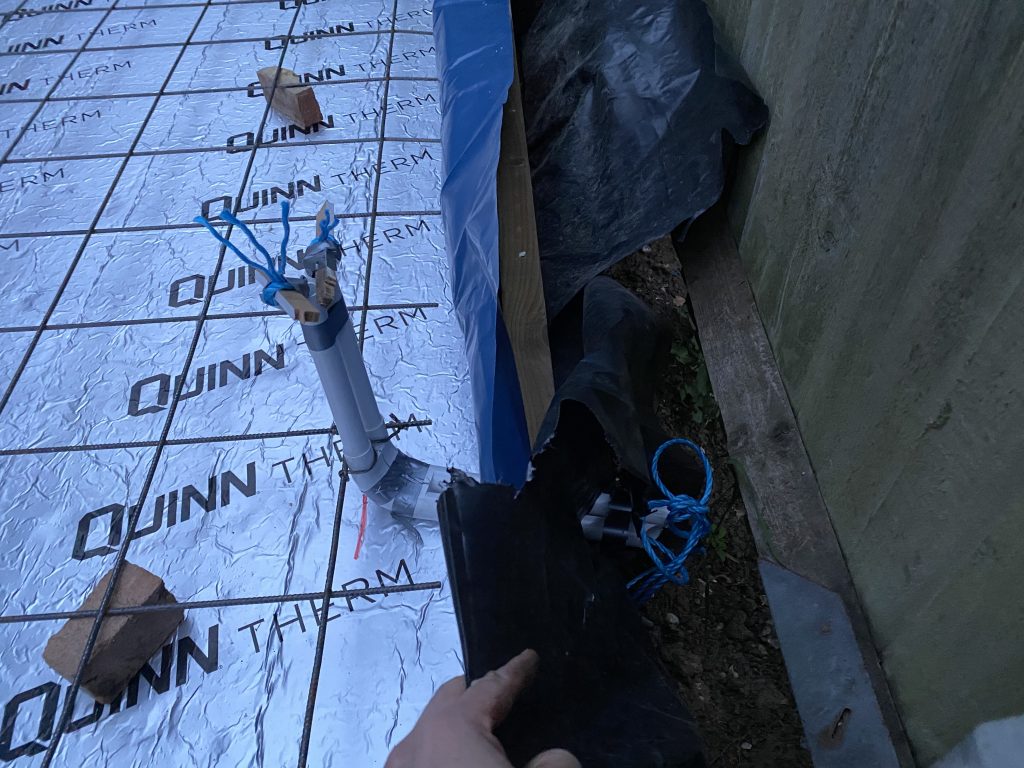
Before pouring concrete, I installed plastic ducting to run electrical cables through the base and into the studio. I used two 20mm plastic pipes — one for power and another for future expansion so I wouldn’t need to drill through the slab later. I fed some nylon rope through to make it easy to pull utilities through.
Pouring the Concrete
With everything in place, I poured C25 grade ready-mix concrete. The mixer was at the front of the property, and we barrowed it around to the back. I used around 1.5 cubic meters in total.
To level the surface, I used a long, straight piece of timber and smoothed it out for a flat finish.
Fixing the Anchor Bolts
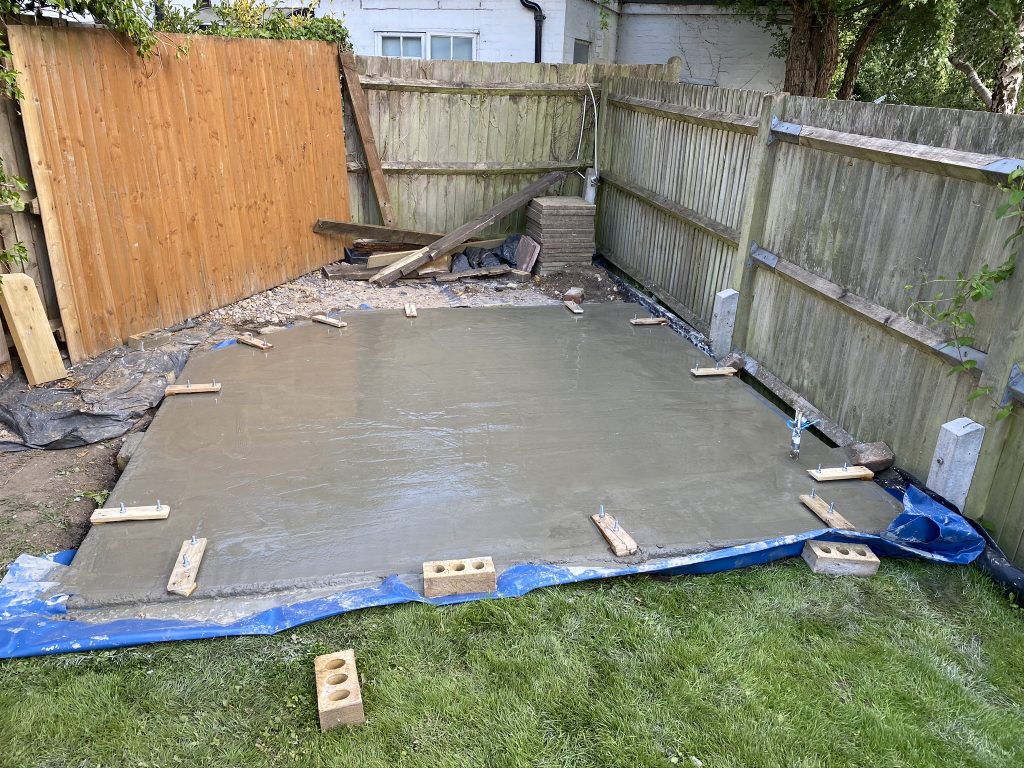
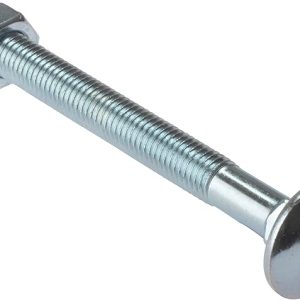
Before the concrete cured, I installed anchor bolts around the perimeter to secure the timber frame / wall plates. I had previously measured and marked bolt positions using a wooden template to ensure perfect alignment with the future stud work. This helped avoid any clashes and ensured the frame would be stable. You can use concrete fixings, but this ultimately is stronger.
Final Finishing
After placing the bolts, I used a trowel to finish smoothing the slab. While it’s a rustic finish, it’s more than adequate for the job and gives a solid base for building the studio.
Conclusion and What’s Next
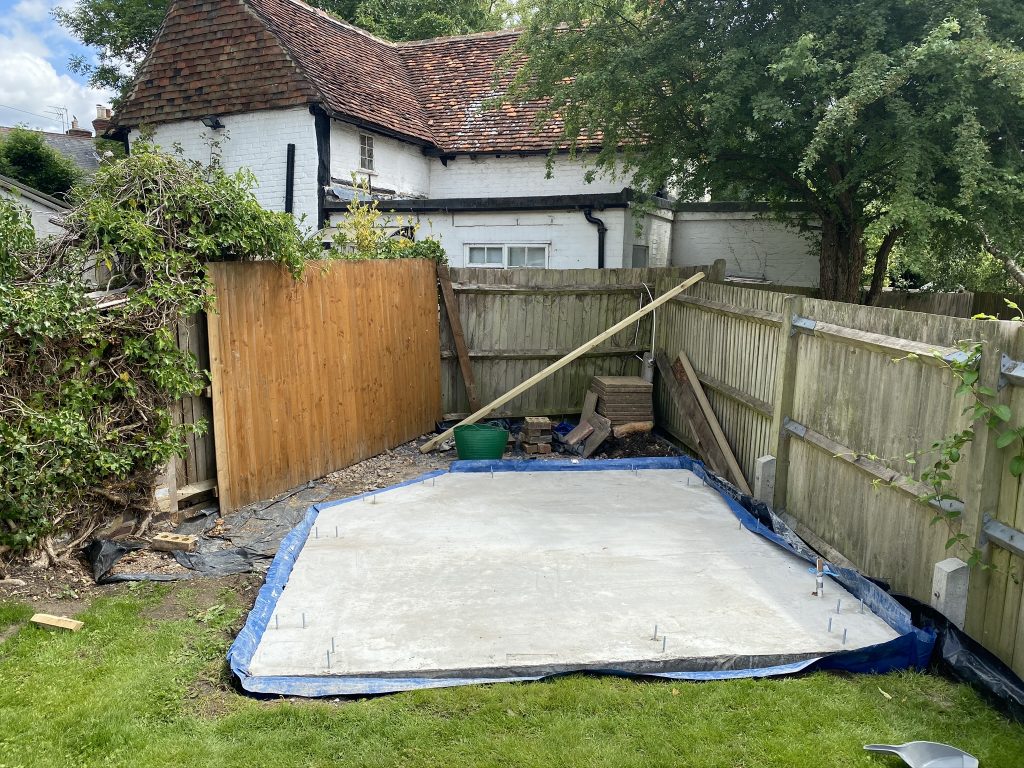
Here is the final product — one week after pouring the concrete, I removed all the shuttering. The base is now complete, and we’re ready to move on to the next phase: building and fixing the walls. Remember whilst the concrete is curing it is important to keep it damp to stop it drying out too fast. Keep a tarpaulin over it, and if it is particularly hot water, make sure to lightly water the slab.
Products Used
ForgeFix Single Thread Screws – 5x100mm
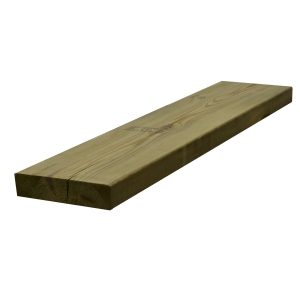
C24 200mm x 47mm x 4.8m Regularised Treated Sawn Timber
MOT Type 1 Sub Base Jumbo Bag
Building Sand
Concrete Reinforcement Steel Fabric Mesh
PIR Insulation Board 70mm x 2400mm x 1200mm
M10 130mm Carriage Bolt and Nuts
Damp Proof Membrane 1200g 5M X 4M
Aluminium Foil Tape 48mm x 50m



Leave a Reply
You must be logged in to post a comment.