Your basket is currently empty!
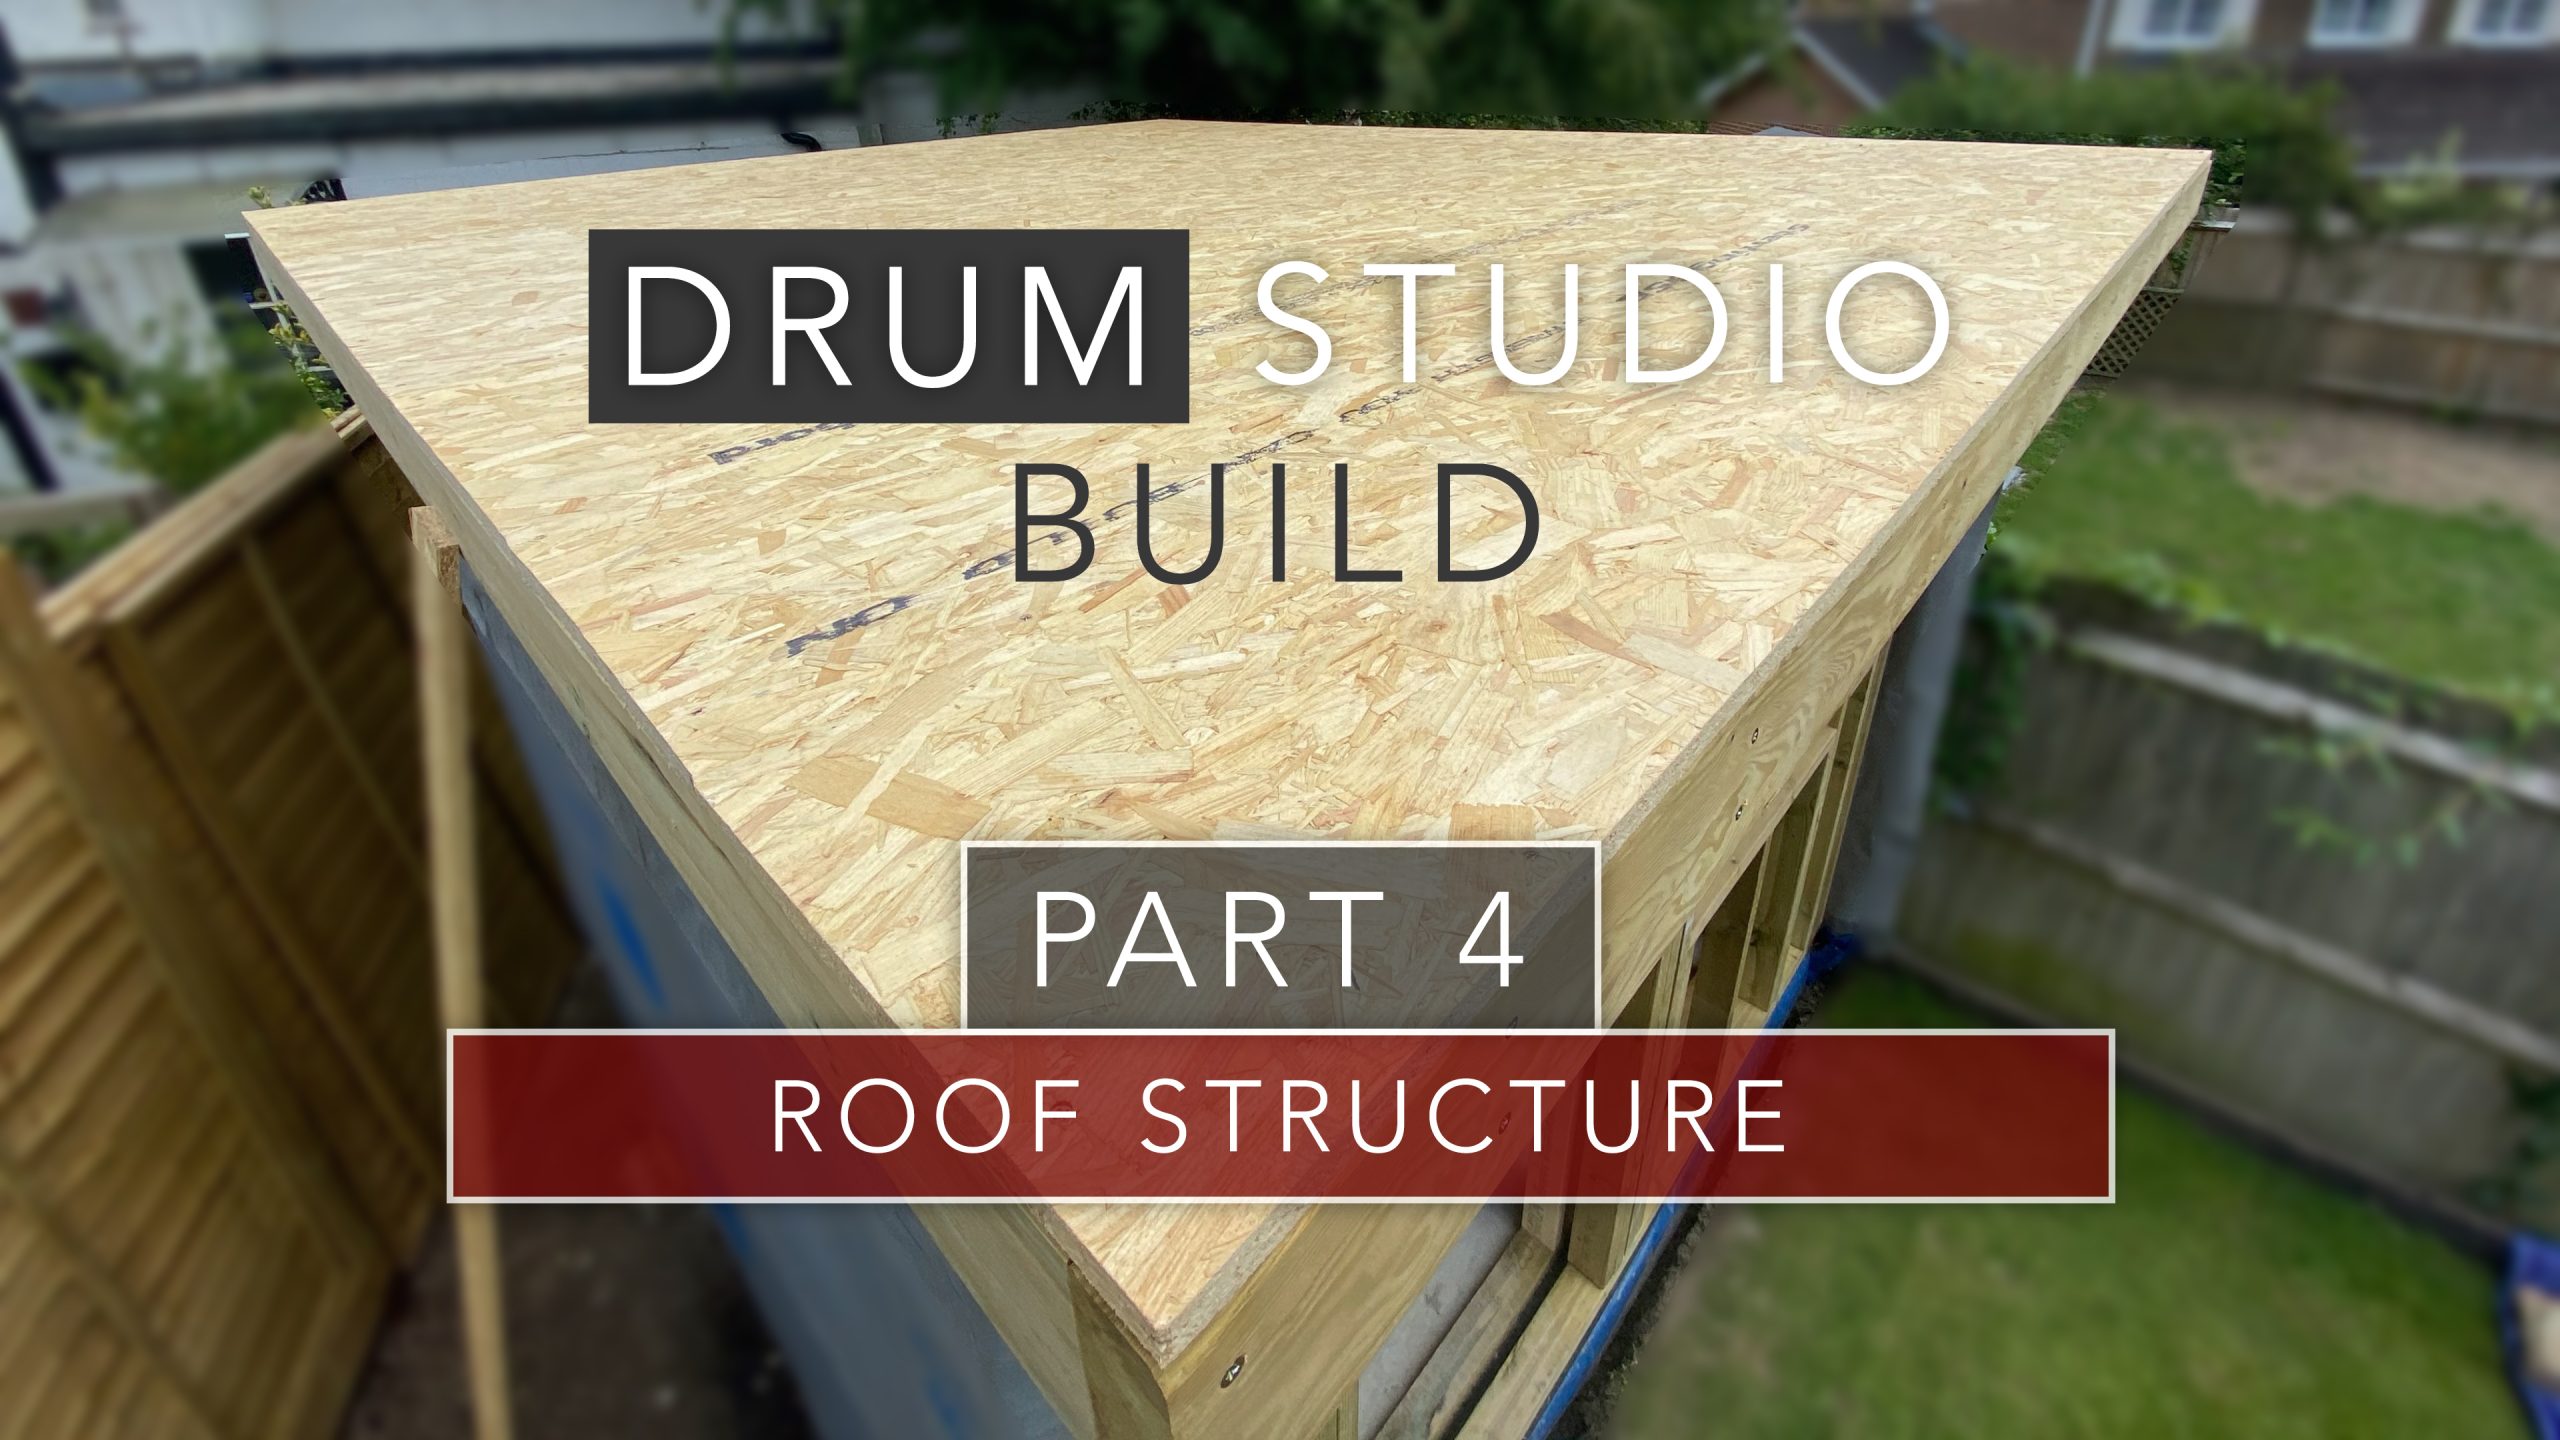
In this section we will be discussing how to build a flat roof. I will talk you through the design process and considerations that need to be taken into account, including the correct size of timber to use, spacing of timbers, and the slope of the roof.
Contents
Introduction
Welcome back to my garden drum studio build series. In this section I’m moving on to one of the most critical structural elements: the flat roof. The garden room roof not only needs to be strong enough to carry its own weight and any loads like snow or tiles, but also has to fit within planning restrictions and contribute to soundproofing performance.
Key Considerations for the Garden Room Roof Design
When planning a garden room roof, there are three main factors to get right:
- Timber sizing and grade: The strength of your roof depends on the timber dimension (e.g. C24 grade 6×2 or 7×2 rafters for spans around 2.5–3m).
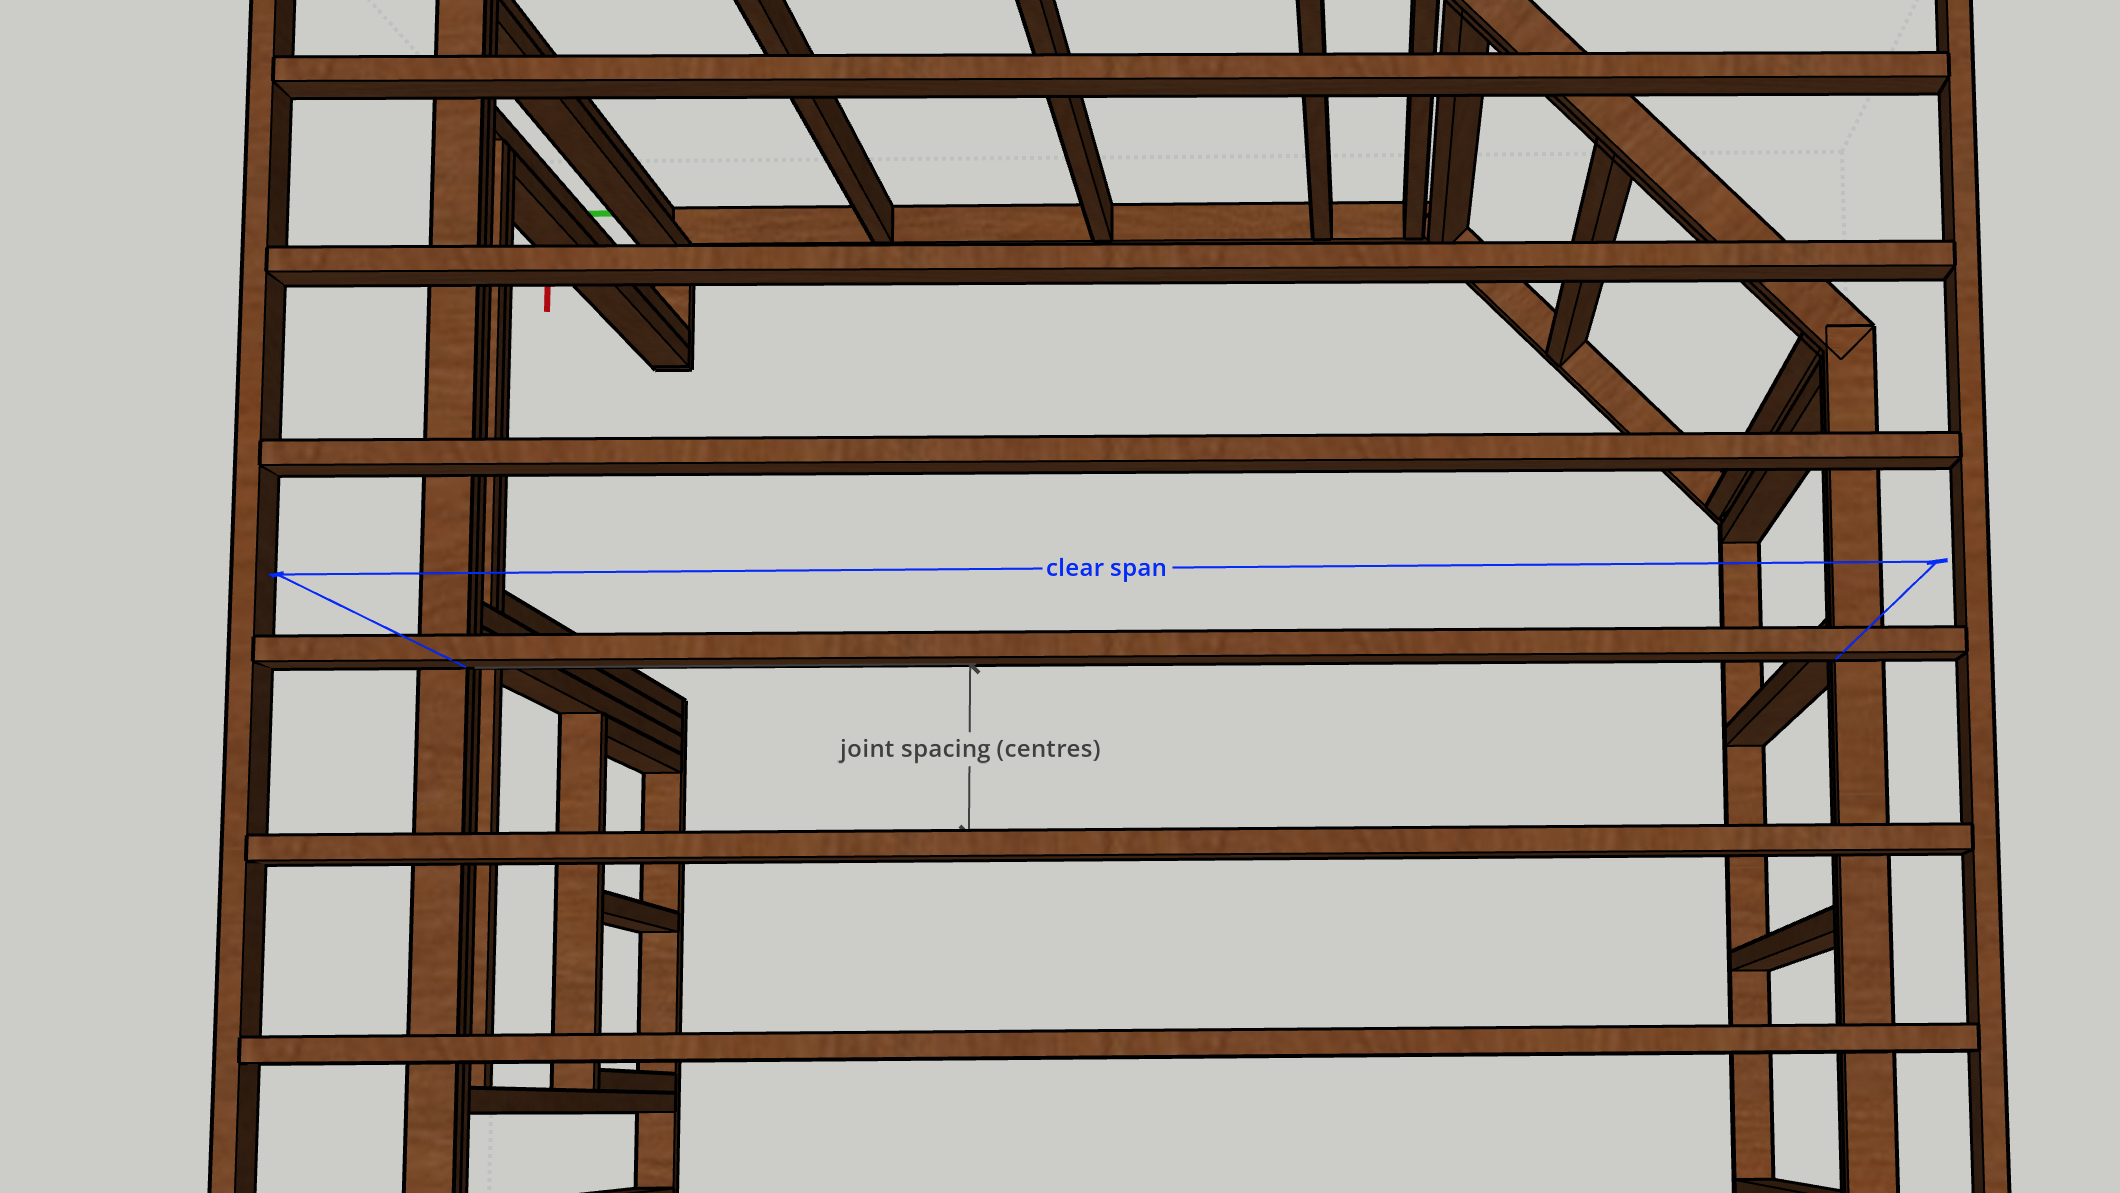
- Spacing: Typical rafter spacing is 400mm or 600mm centres. Tighter spacing adds strength, allowing you to use potentially smaller timbers, but uses more of them.
- Slope or pitch: A key decision is whether you will used a pitched roof or a flat roof. Even “flat roofs” need a fall (often 1:40 or 1:60) to allow water to drain off effectively. Planning rules may restrict the maximum overall height, so the slope has to be calculated carefully to still fall within this, but give you sufficient ceiling height.
Using Span Tables
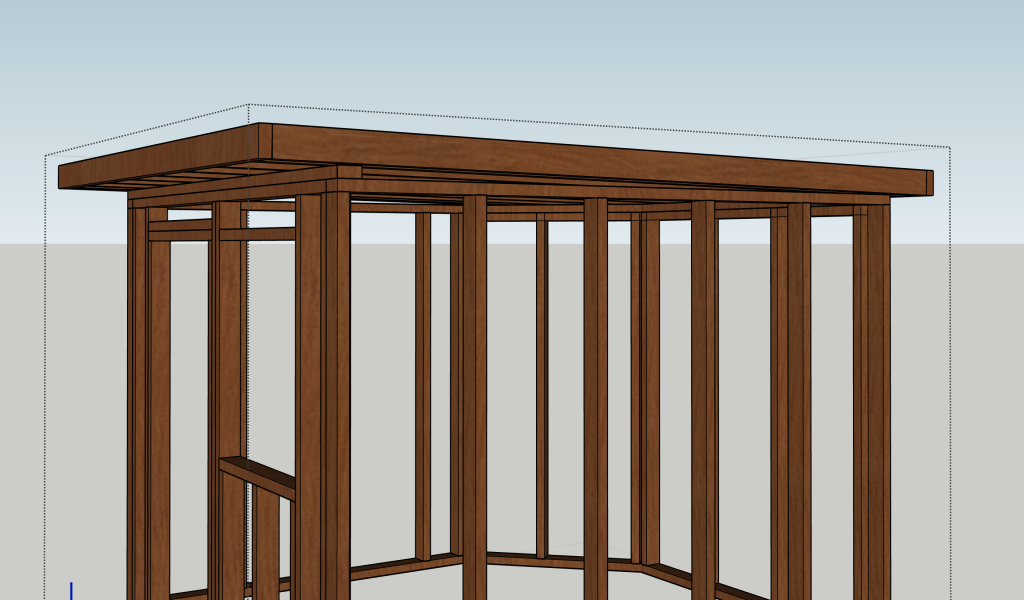
To determine rafter size and spacing, I referred to timber span tables, which are published in UK and EU building regulations. These tables let you cross-check the clear span (distance between walls) with the timber grade, timber dimensions and expected load to ensure your design is safe and compliant.
Timbers are usually structurally graded as C16 or C24, with C24 being the higher rated (and thus usually a more expensive material). If the timbers are not marked with one of these stamps, in accordance to what you planned, you should not use them for structural purposes.
The most commonly referred to reference is the BS 5268-7.2:1989 – “Structural use of timber. Recommendations for the calculation basis for span tables – Joists for flat roofs”. However despite many publications and websites (such as timberbeancalculator.co.uk) using this standard, it is in fact technically withdrawn, replaced with an EU version known as the TRADA Eurocode 5 (BS EN 1995-1-1) “Design of timber structures – General. Common rules and rules for buildings“.
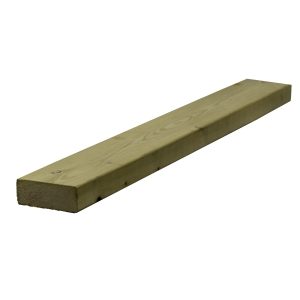
In my case, for a garden room with a span of under 3 metres, C24 125mm x 47mm timbers at 400mm centres are more than sufficient, though always check against the tables for your specific design.
600mm centres are more common, however I would have needed thicker timbers which would have continued to eat into my internal ceiling height in order for me to keep under the 2.5 meter rule. (refer to part 1: Garden Room Design: 5 focus areas to get off to the right start for more information about this). Therefore I went with 400mm centres, which only added a couple of extra lengths of timber to the cost, but saved me an inch of headroom. That may not sound like much, but when the height is already lower than a typical room, every cm adds up!
Building the Flat Roof Frame
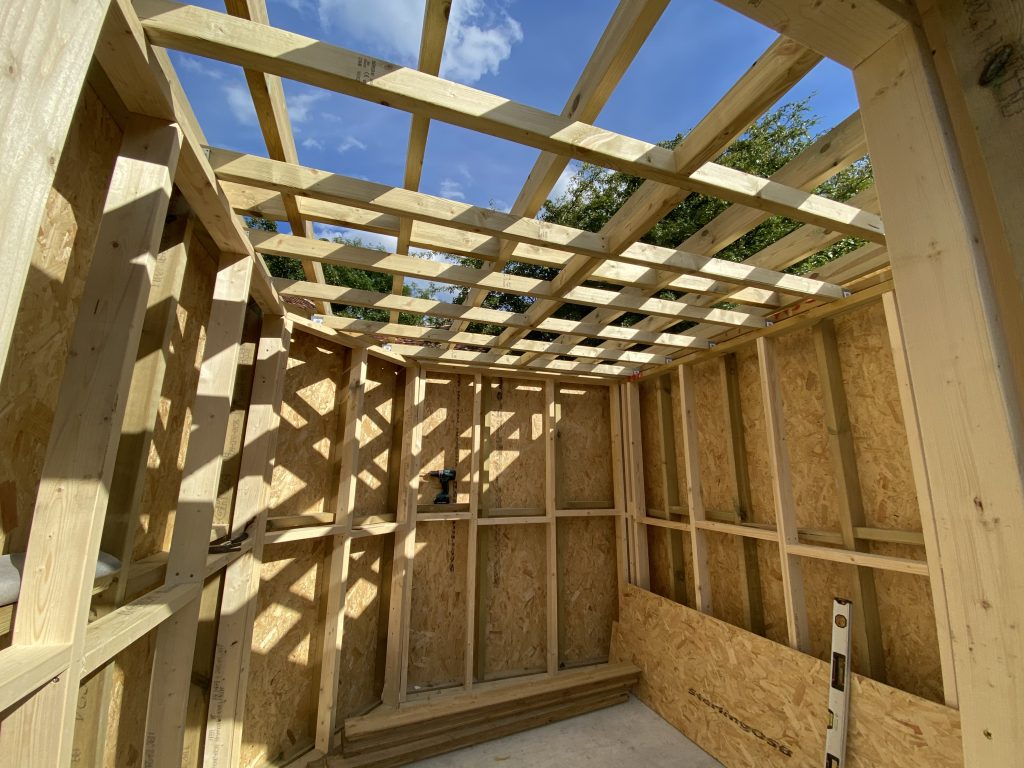
Once the design was finalised, I could start to cut the timbers to length for the roof frame. The layout included a slight overhang to protect the cladding, about 20cm at the back, 10cm on the sides, and 40cm overhang at the front.
Depending on the size of your roof, you may choose to build the frame on the ground and lift it into place, or fix the rafters one by one directly to the structure. I decided to make the frame on the ground, leaving out some of the rafters to moderate the weight, and fixed the remaining ones in place once I had the core structured fixed to the roof.
In order to get the pitch that I need, I calculated that I can raise the height of the wall plate on the front wall by the thickness of 1 timber, to give me a fall of 1:80. In an ideal world, I would make the fall larger, but this is the minimum recommended according to BS 6229 on a flat roof and as you know I am trying to keep the height within 2.5m whilst maximising the internal ceiling height. What this ratio means is that for every 80cm of roof, the drop is 1cm. So if the span of your roof is 4 meters, it should be 5cm higher on one end than the other, to give you the minimum fall needed for rainwater run off.
Fixing the Rafters
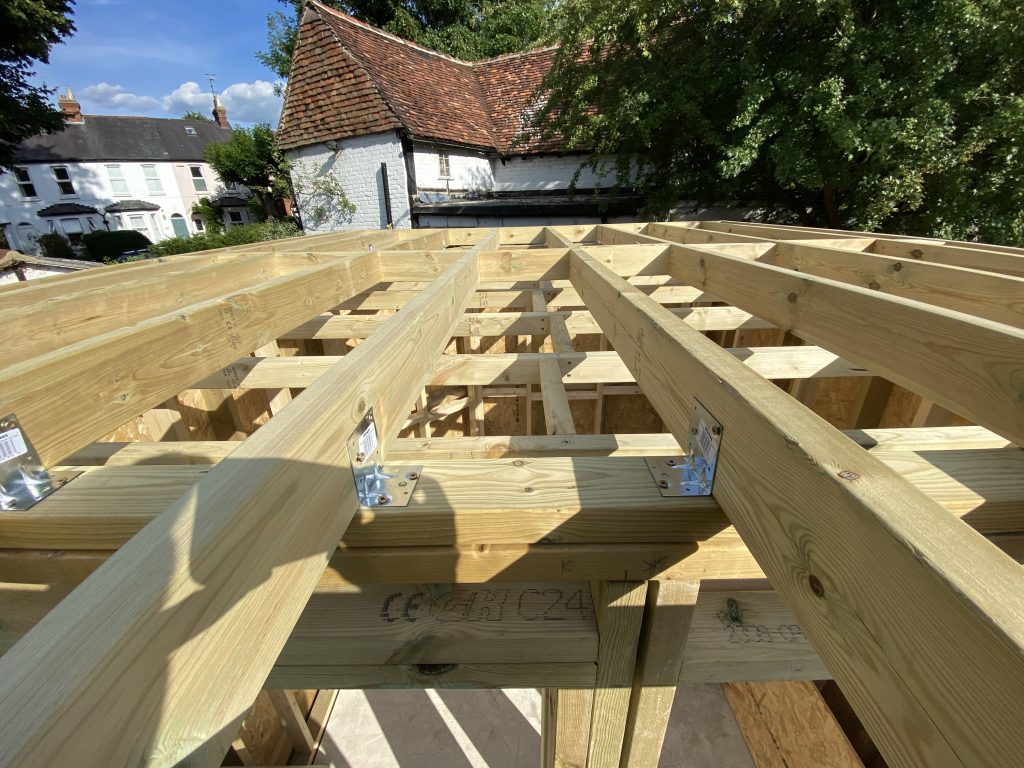
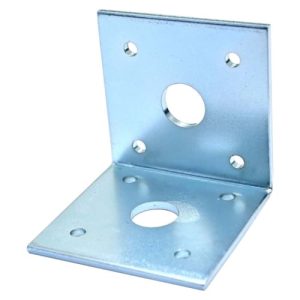
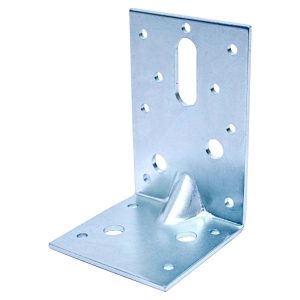
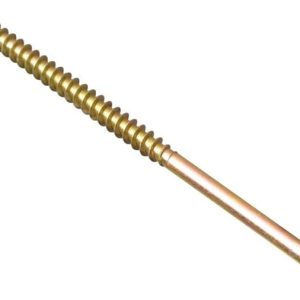
Each rafter was secured to the top plates of the wall frames using L brackets and structural screws. You can also use twist nails. This provided both vertical and lateral stability. There are other methods, such as notching the rafters to sit within the wall frame top plate, and fixing directly with multiple screws or nails, but personally I found this approach to be cleaner and less time consuming.
I also added noggins (short pieces of timber between the rafters) to reduce twisting, provide rigidity and also extra fixing points for the decking board.
If you are building a ‘room within a room’ and have a second internal ceiling, it is just as important to add the noggins through the centre for rigidity, but also to add some around the edge. This will give you useful fixing points when it comes to add the plaster board later.
Adding the Roof Decking
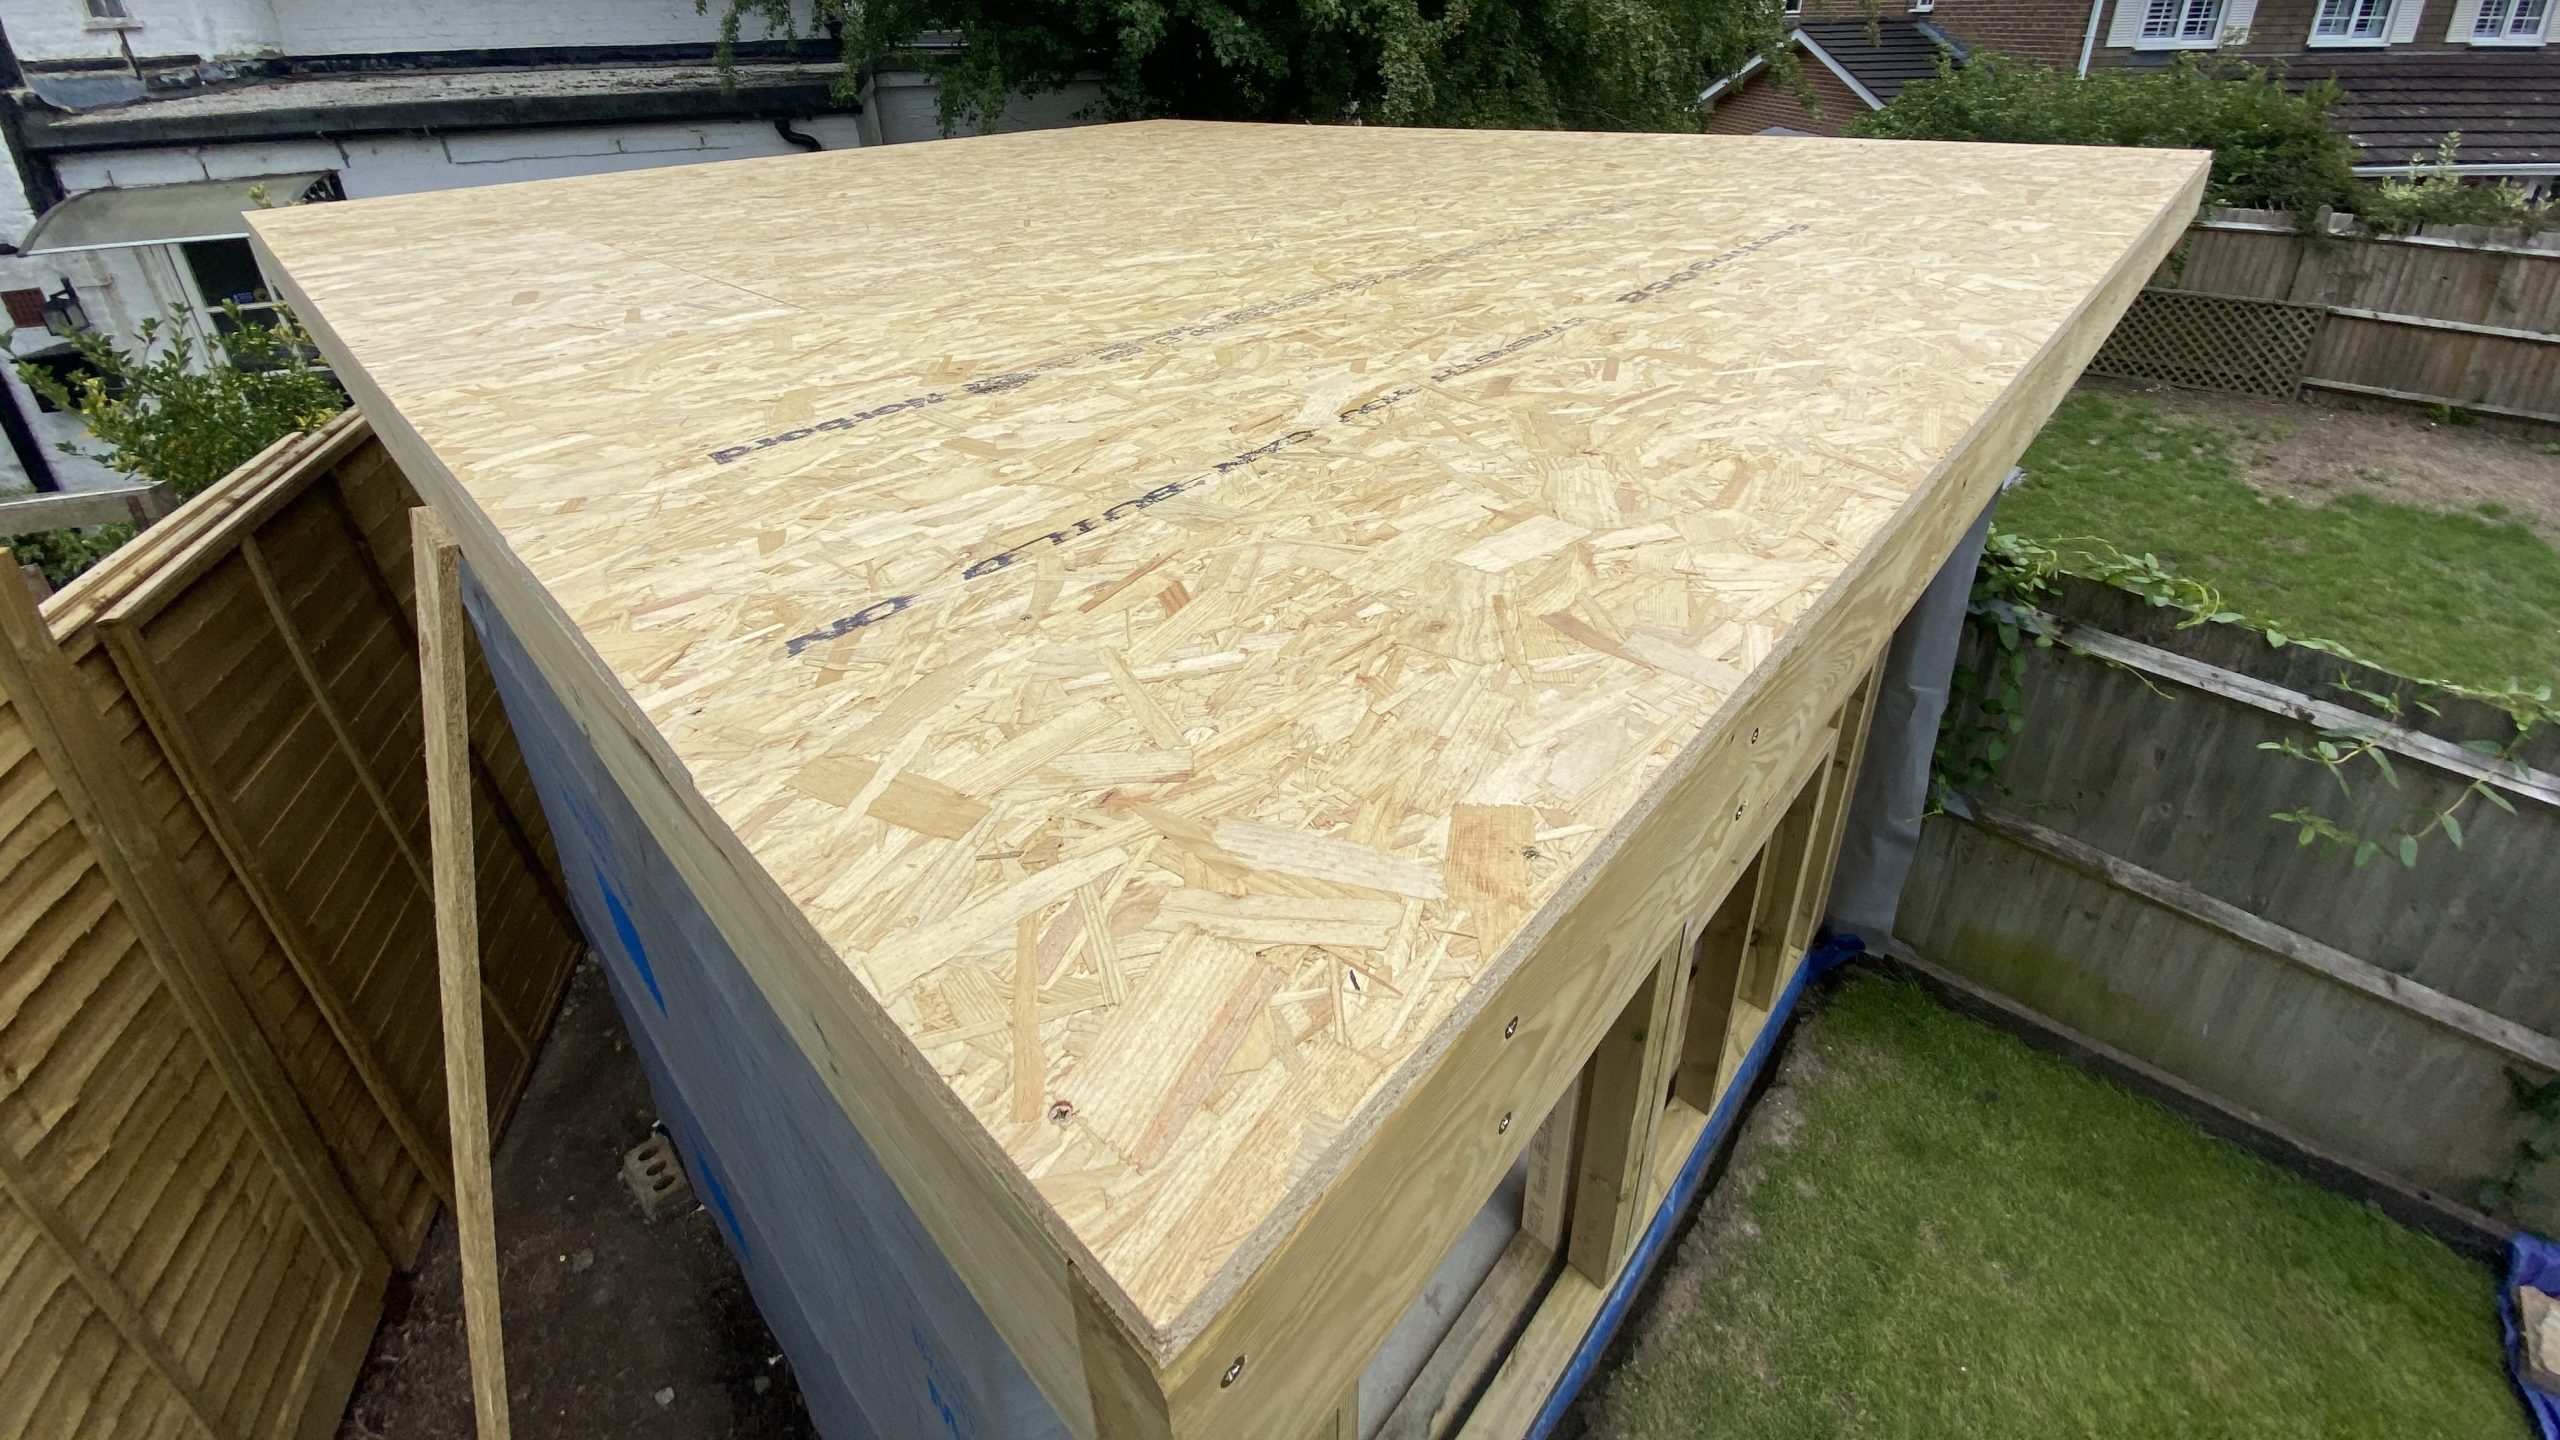
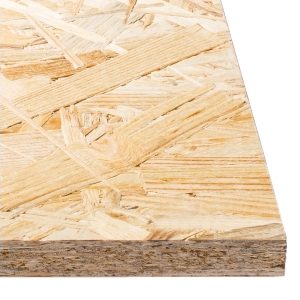
The decking layer was made from 18mm OSB3 tongue-and-groove boards, which are semi moisture-resistant, structural grade and designed for roofing and siding. They were laid perpendicular to the rafters and staggered for strength. Fixed down with screws 45mm screws, with roughly 30mm spacing per screw along on each rafter.
Weatherproofing the Roof
For the final covering, you can choose EPDM rubber (most popular today for flat roofs), felt, or fibreglass GRP. In my case, EPDM was the preferred choice because of its long lifespan (over 20 years), easy installation, and seamless finish (no joins). Check out chapter 6 for the detailed process.
Conclusion and Next Steps
That completes the flat roof structure for the garden drum studio. In the next stage, I’ll add the roof covering, insulation and several internal layers to improve both thermal performance and soundproofing.
If you found this article useful, you can also checkout this section on YouTube and watch the full garden studio build series.
Products Used
Angle Bracket 50 x 50mm
Spax Countersunk Screws – 4x45mm – Pack of 200
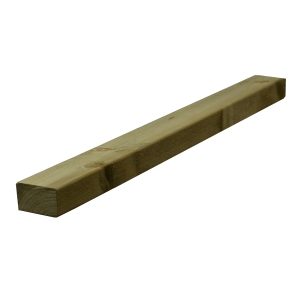
C16 75mm x 47mm x 3.6m Regularised Treated Sawn Timber
OSB 3 Structural 18mm x 2440mm x 1220mm
Angle Bracket 90 x 60mm
C24 125mm x 47mm x 3.6m Regularised Treated Sawn Timber
ForgeFix Single Thread Screws – 5x100mm
Useful Links
Information on building regulations with regards to materials, and a useful span table calculator:
| Span Tables Calculator | https://www.timberbeamcalculator.co.uk/en-gb/span-tables/ |
| BS 5268 | https://knowledge.bsigroup.com/products/structural-use-of-timber-recommendations-for-the-calculation-basis-for-span-tables-joists-for-flat-roofs |
| TRADA Eurocode 5 | https://knowledge.bsigroup.com/products/eurocode-5-design-of-timber-structures-general-common-rules-and-rules-for-buildings |
| BS 6229 | https://knowledge.bsigroup.com/products/flat-roofs-with-continuously-supported-flexible-waterproof-coverings-code-of-practice |

Leave a Reply
You must be logged in to post a comment.