Your basket is currently empty!
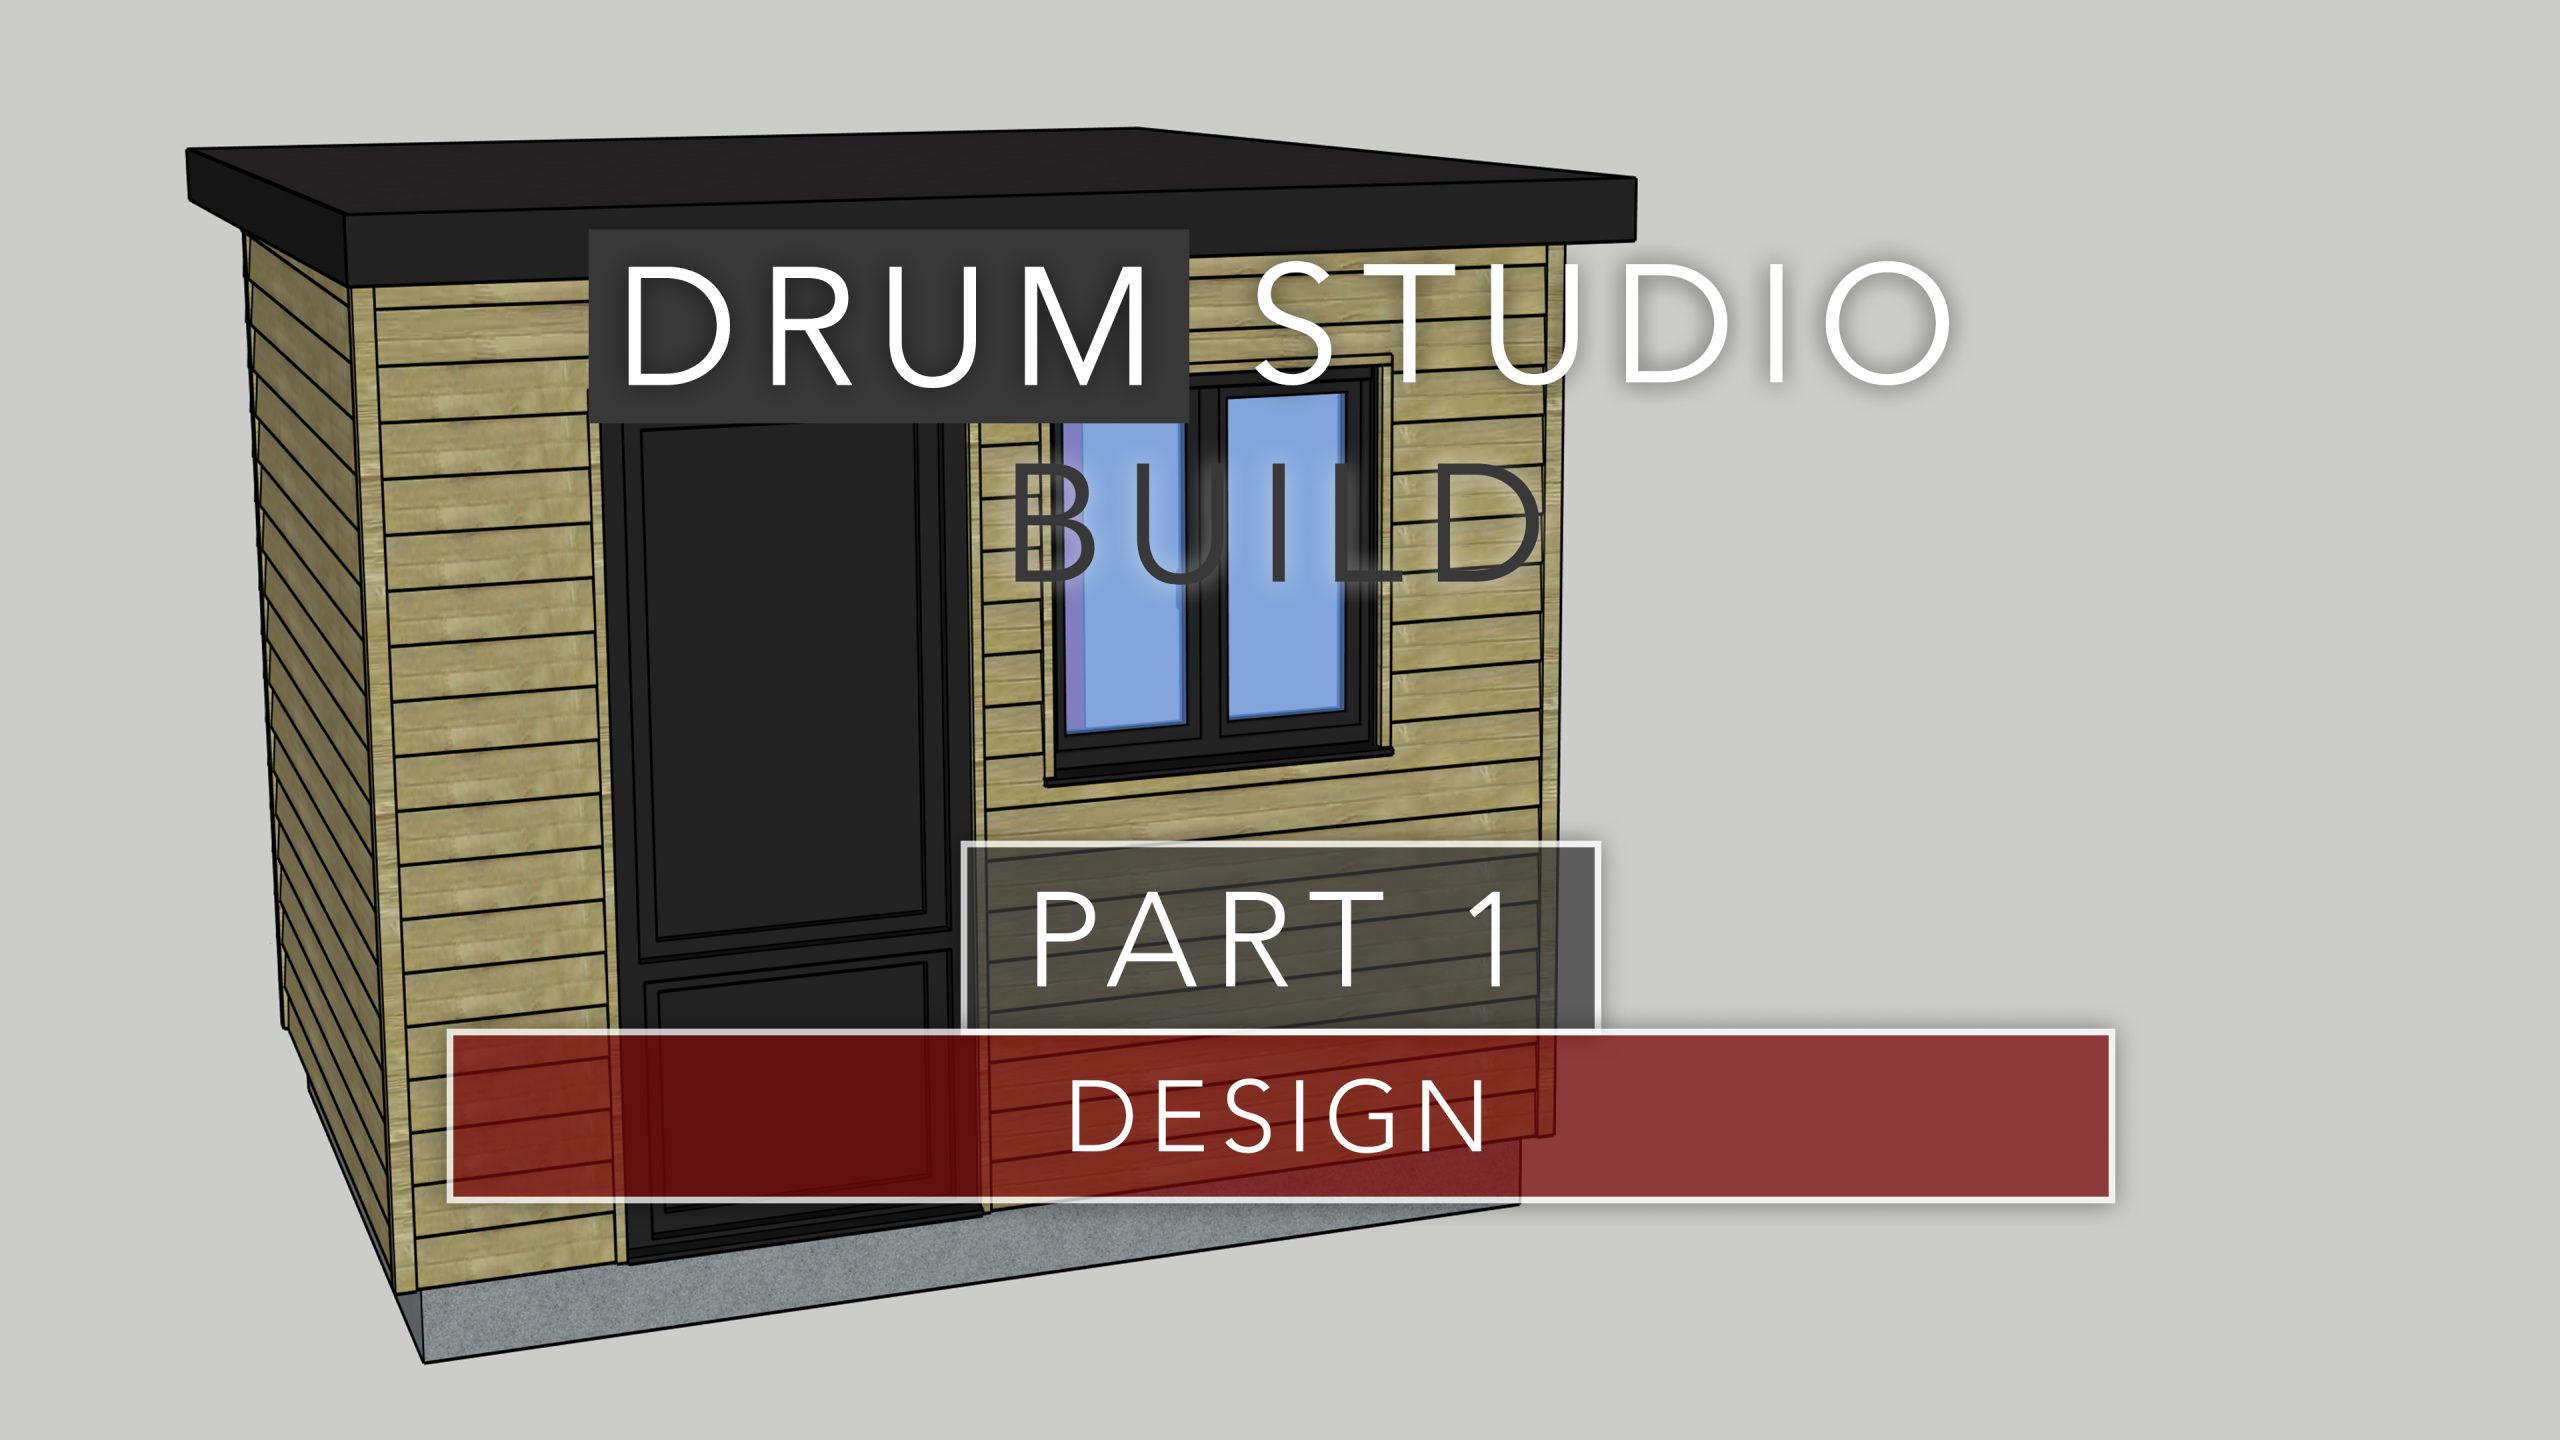
In this first video of the series I provide an introduction to the garden room build which will be used as a drum studio. I’ll cover the key garden room design considerations including planning permission and design of the building itself.
Contents
Introduction
Hello and welcome to the first part in a new series where I’m going to take you step by step through my garden room self-build. This garden room is a little more special, as it’s going to adopt some soundproofing techniques and be used as a drum practice studio.
This series has started out as a channel on YouTube and i’ve now combined it with another passion of mine, web development, to create this informative website providing additional content and information on the builds.
In this video and article, I’m going to talk about some key areas you are probably thinking about but not sure where to start when it comes to the garden room design and build, including planning permission and building regulations. I will also talk through my initial garden room designs.
Throughout the video I will show you some of the tricks and techniques i’ve used to maximise every cm of space when it comes to the construction and choice of materials.
Aims of the Project
Creating a sound proof practice space is a common dilemma amongst drummers and musicians in general. The common question is always asked, I wonder if I could soundproof my shed or garage? Well the best solution is to create a dedicated space.
I’ve you’ve looked into garden rooms then you’ll know they can be very expensive, particularly if you need to add soundproofing. There are some nice options out there, but, if you are a dab hand at DIY, do your research and invest in some basic tools, you’d be surprised how much you can do yourself. I’ve estimated my build will cost between a quarter and a third of the price to have one professionally installed. The only area where I will be seeking professional help is for the electrics, due to regulations. More on that later.
Once completed, I hope that the space is large enough to be functional, and the sound proofing is sufficient to keep disruption to the neighbours to a minimum. You can spent a lot of money on soundproofing materials, but this is a build within a reasonable budget. I don’t expect 100% effectiveness, but a material impact to reduce the sound escaping externally.
1. Planning Permission
One of the first things you should think about with your design is the relevance of planning permission. The good news is that many garden room designs are covered under permitted development, meaning you do not need to notify your local planning authority.
The Planning Portal website has excellent guides outlining the conditions.
In my case:
- The outbuilding is not to the side of the property.
- It’s not in the grounds of a listed building, a national park, or protected land.
- The principal elevation condition means you cannot build in front of your property.
Also, you can only increase the total area of your property by up to 50%, which includes all sheds and outbuildings. You’re also not allowed to create living accommodation, and there are height restrictions.
Because I’m building within two metres of the property boundary, my maximum height is 2.5 metres. This complicates the soundproofing design, but I’ll return to that later.
You should always check with your local planning office whether your property is governed by permitted development. I have personally lived in a property where it was allowed, and another where it was written into the deeds that it was removed (mainly due to being within the greenbelt).
2. Building Regulations
If the building is less than 15m², you usually don’t need building regulations approval.
If it’s between 15 and 30m², you’re also fine if there’s no sleeping accommodation and it’s at least one metre from the boundary.
In my case, I’m within one metre but under 15m², so no approval is required.
The main rule that still applies is Part P of the Building Regulations for electrical safety.
3. Electrical Safety and Part P
Part P applies to all electrical installations in outbuildings. If your installation involves a new circuit or replacing a consumer unit, you must notify building control.
You have three options:
- If you’re a registered competent person, you can self-certify.
- If you use a registered third-party contractor, they can certify the work.
- Or building control can certify it.
If you’re not registered, you can either:
- Use a Part P registered electrician, or
- Notify building control and go through inspections.
It’s best to engage the electrician before work begins — they may allow you to complete parts of the installation yourself and still sign off the work.
Failing to follow regulations can result in fines, even years later, and may complicate property sales if you don’t have the right certificates. Always check with your local authority if unsure.
4. Garden Room Design and Layout
The base is 3m by 2.8m with a corner cut away on one side to allow for access behind the building due to the odd shaped garden where the room is going to be positioned. The external timber frame and roof have an overhang on this corner.
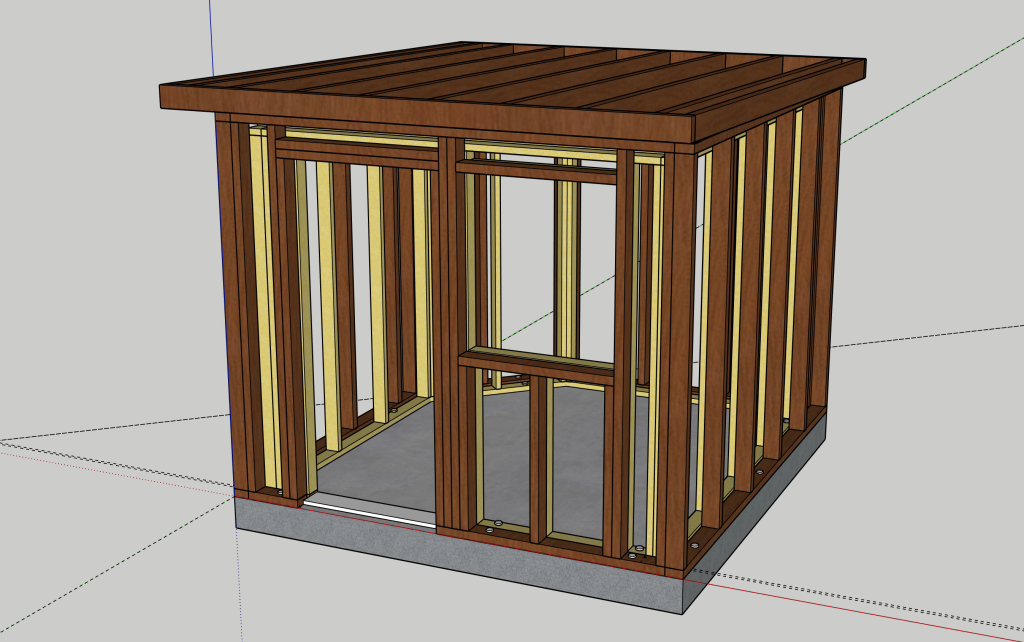
It will be 2.5 meters tall at it’s highest point at the front.
The internal space will be approximently 2.3m wide by 2.5m deep with a ceiling height of around 2.2m depending on the type of floor covering I decide to go with. That’s about 20cm lower than the ceiling height of a modern new build due to the second internal roof, however it will still be more than ample.
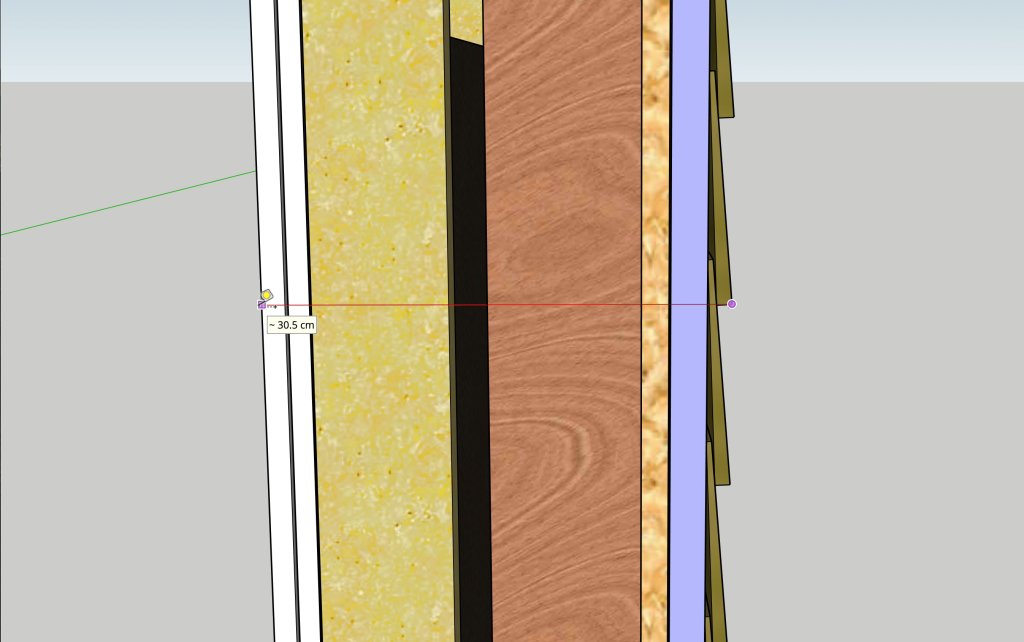
For soundproofing, I’m creating a “room within a room” — an internal stud frame set 2.5cm in from the outer frame, with bolts fixing the frame to the floor.
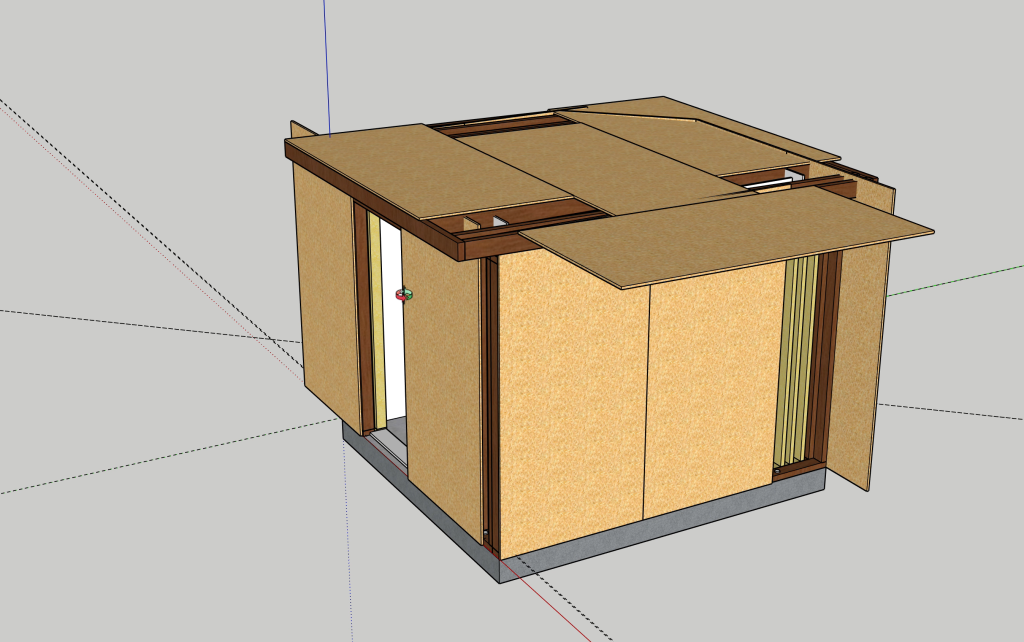
Using SketchUp, I modelled materials like plasterboard walls and OSB siding to estimate quantities, align stud work, and avoid awkward cuts.
5. Garden Room Wall Construction
External Wall:
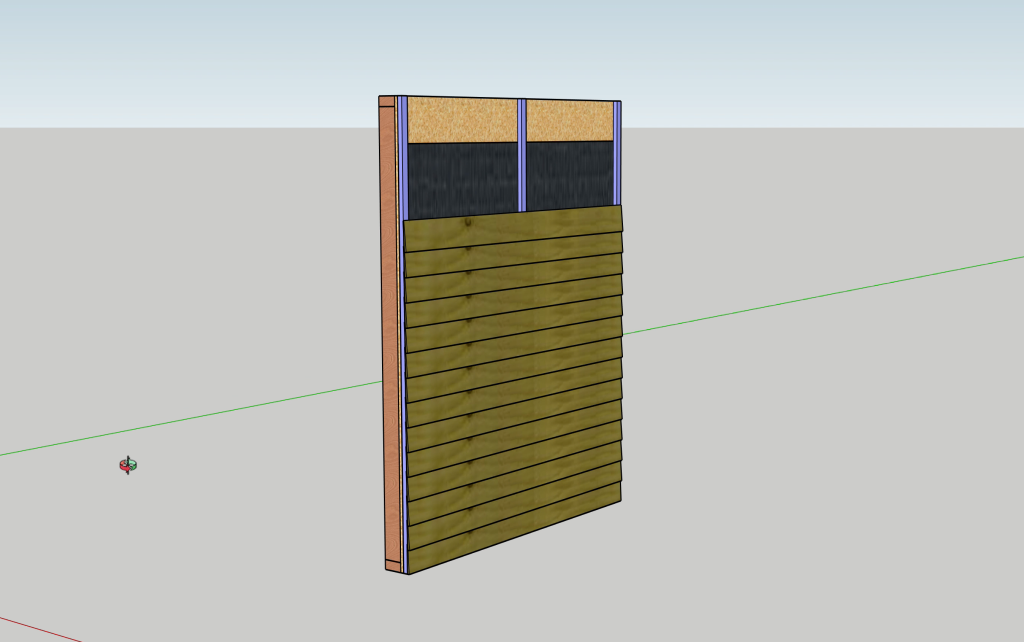
- 2×4 timber (100mm x 47mm), studs spaced 600mm apart.
- Exterior layers: 18mm OSB → breather membrane → roofing battens → featheredge cladding.
Internal Wall:
- CLS timber (89mm x 38mm), spaced 2.5cm from the outer wall to create an air gap, also 600mm apart (at the centre).
- Interior layers: insulation → vapour membrane → two layers of 15mm soundproof plasterboard.
The finished wall thickness will be about 30cm.
Conclusion and Next Steps
Do your research and plan in advance. If you following the guidelines for permitted development and building regulations in your garden room design, depending on the size and function of the room, you can potentially avoid the need for approvals.
Use a free tool like SketchUp to design your space and calculate the materials you need, and draw out blueprints to make the construction process as straight forward as you can.
Follow the rest of the series on YouTube and this blog to see the step by step process I follow, and the completed room.
Useful Links
Links to the UK Planning Portal resources:
| Permitted Development | https://www.planningportal.co.uk/info/200125/do_you_need_permission |
| Building Regulations | https://www.planningportal.co.uk/info/200128/building_control/38/building_regulations |
| Building Control Part P – Electrical Saftey | https://www.planningportal.co.uk/info/200135/approved_documents/82/part_p_-_electrical_safety |

Leave a Reply
You must be logged in to post a comment.