Your basket is currently empty!
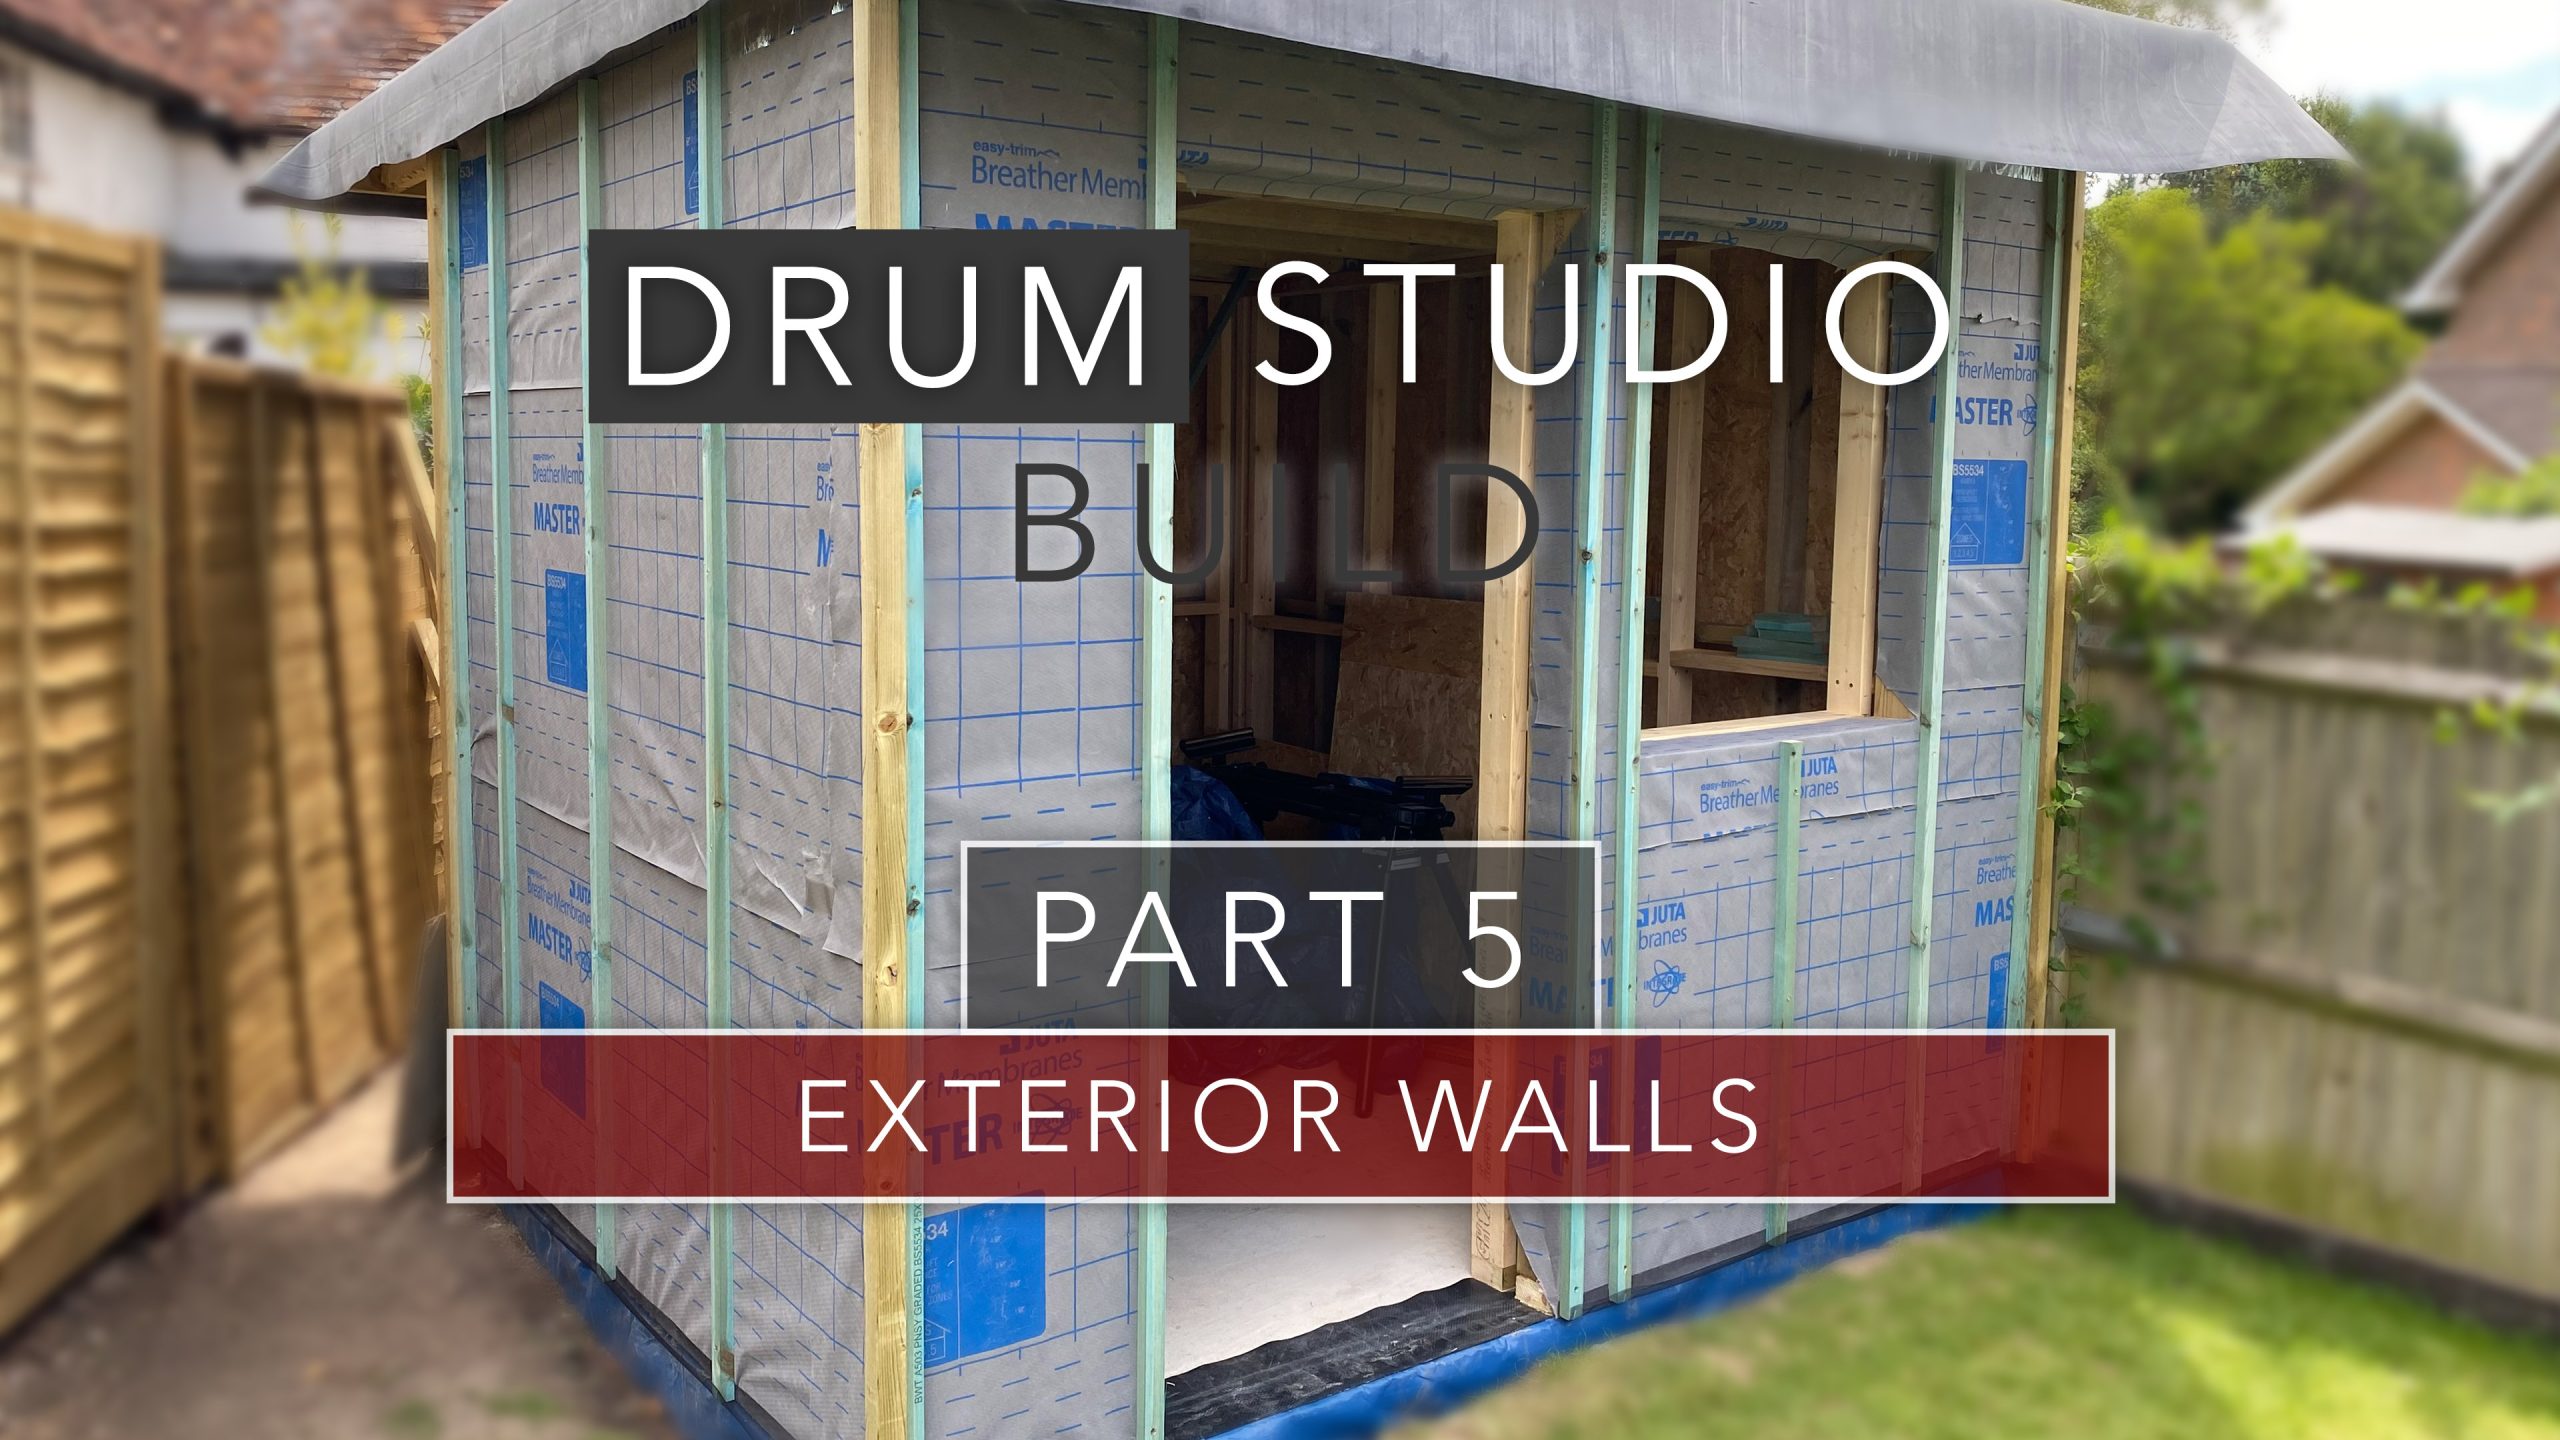
Garden Room Cladding Stage 1: OSB Sheathing, Membrane and Battens Installation
6 minute readIn this chapter I start the garden room cladding preparation by weatherproofing the structure: adding the OSB sheathing, breather membrane and battens to create a ventilation cavity ahead of fixing the cladding in a later post.
Contents
Introduction
Welcome back to the garden drum studio series. In this stage of the build, I’m focusing on sheathing the external timber frame and preparing the walls for cladding. This includes fixing OSB sheathing boards, adding a breather membrane, and installing vertical battens to create a ventilated cavity behind the final cladding.
These steps are essential for both weather protection and long-term durability, ensuring the garden room remains dry and stable for years to come.
Materials and Tools
For this stage, the key materials used were:
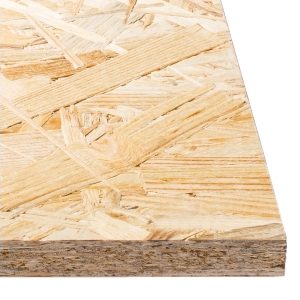
- OSB3 sheathing boards (18mm) — structural-grade, moisture-resistant panels suitable for external use.
- Breather membrane — vapour-permeable yet water-resistant barrier that allows trapped moisture to escape from the wall.
- Treated softwood battens (25mm x 38mm) — create a ventilated cavity between the membrane and cladding.
- Galvanised screws — corrosion-resistant fixings for outdoor environments.
Tools included a circular saw, impact driver, staple gun, and long spirit level.
You can find links to the products I used at the bottom of the article.
Fixing the OSB Sheathing
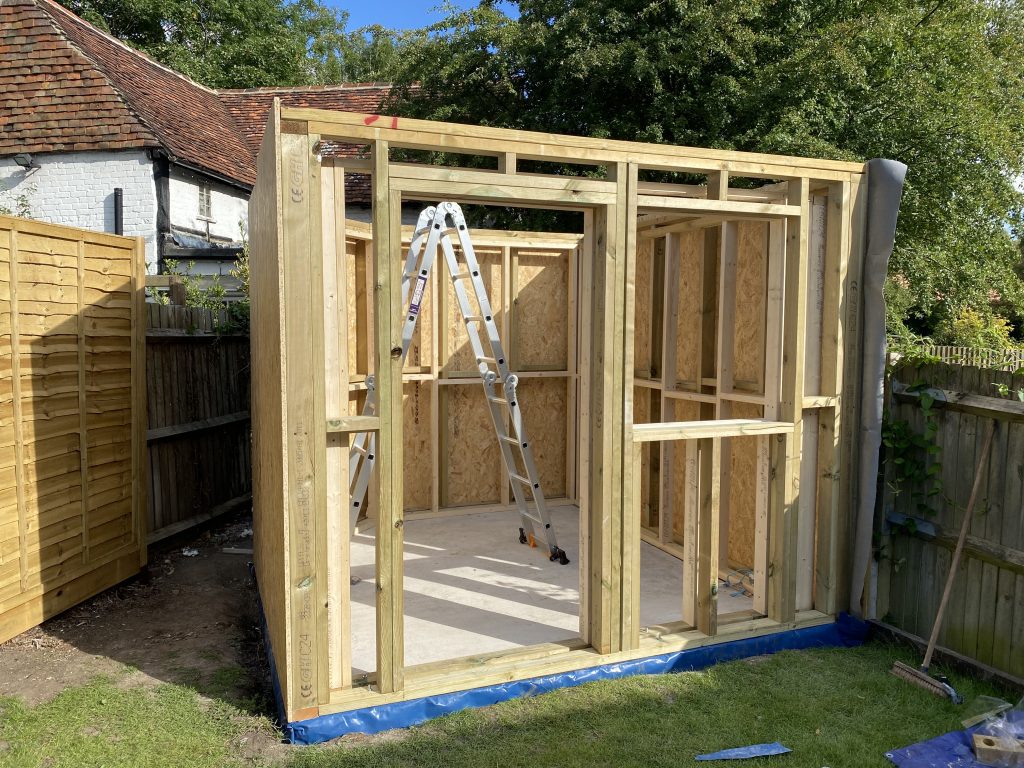
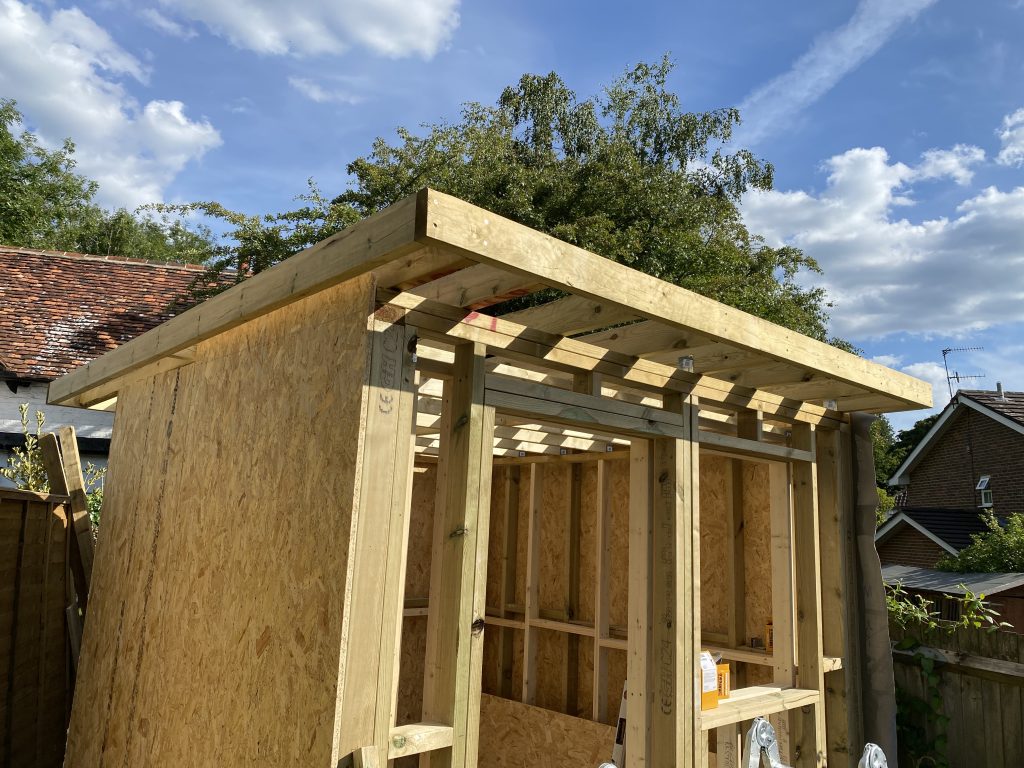
The first step was to fix the OSB sheathing boards to the external timber frame. Each panel was cut to fit tightly between corners and openings, with staggered joints to improve structural integrity.
Each board was fixed using 45mm screws at approximately 300mm spacing down each stud. This provides both racking strength and a stable surface for the membrane and battens.
As soon as you start to fix the OSB, the entire strength and rigidity of the building takes hold and you’ll find there is no longer any flex or wiggle in the timbers.
Installing the Breather Membrane
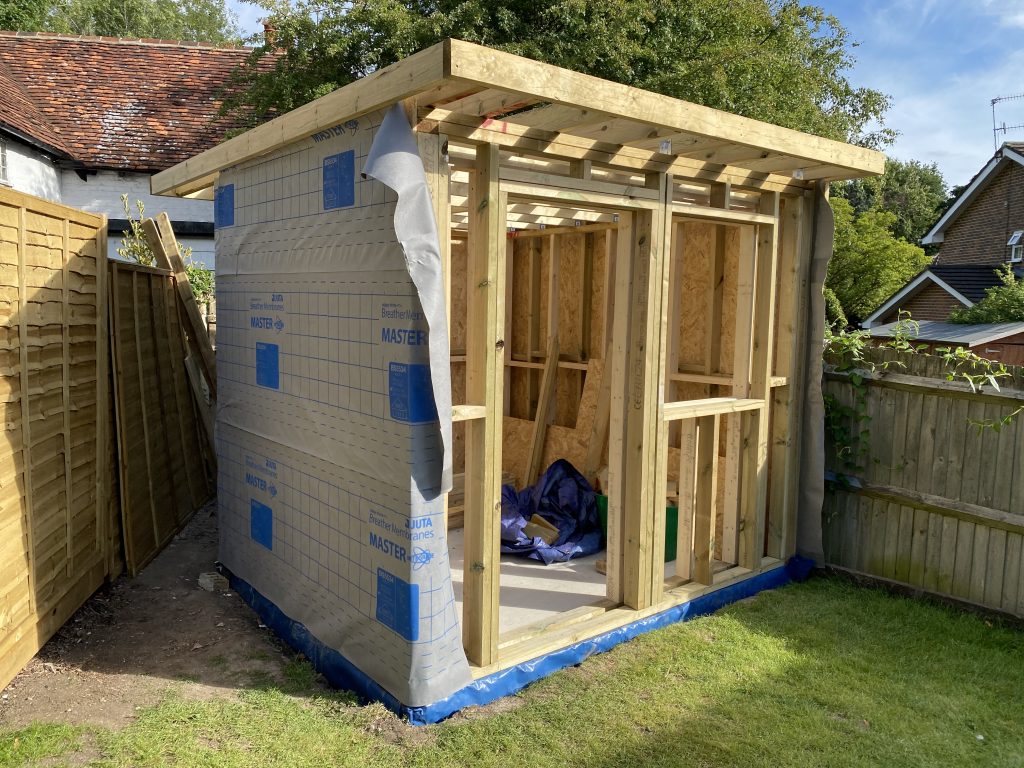
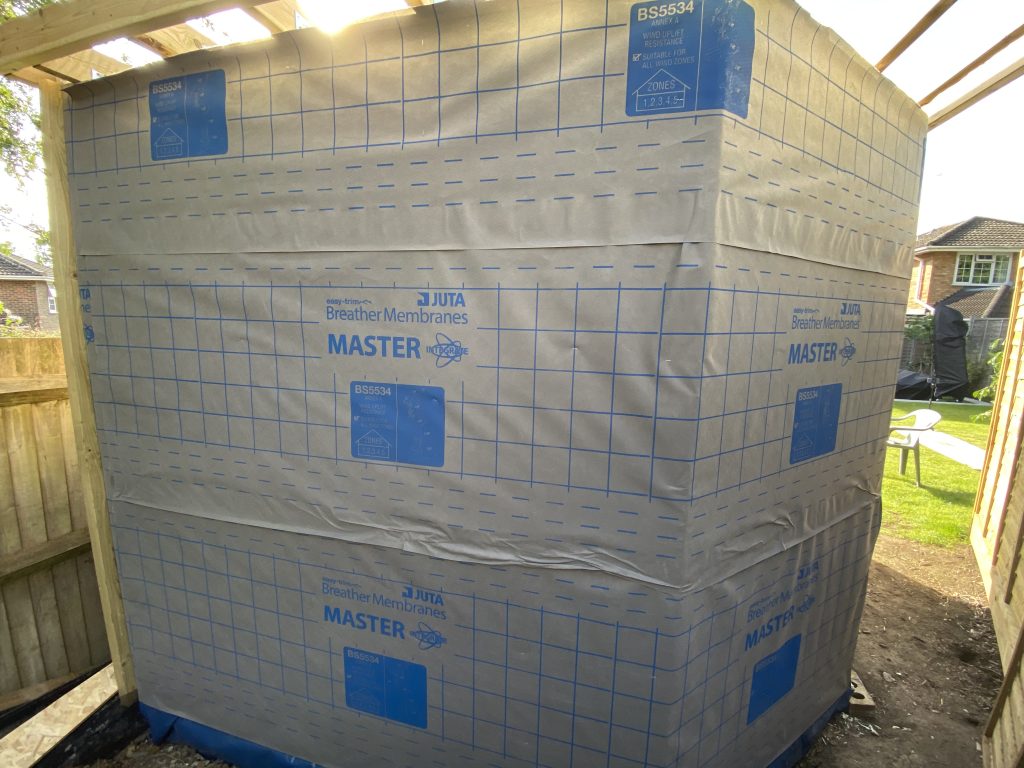
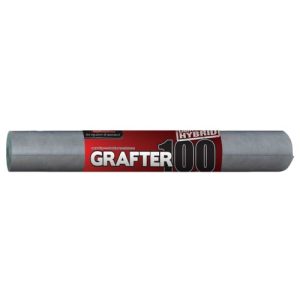
Once all the sheathing was in place, I rolled out the breather membrane, starting at the bottom of the wall and overlapping each course by around 100mm. If you have a join mid width, you should over lap it by a minimum of 200 to 300 cm.
The membrane was stapled securely to the OSB, ensuring it was flat with no wrinkles or tears. The overlaps and edges were sealed with tape which is pre-attached to the membrane, maintaining an unbroken weather barrier.
This layer is crucial for protecting the timber frame from condensation and rot. It prevents water ingress while still allowing any internal moisture to escape, like a one-way barrier.
Adding the Vertical Battens
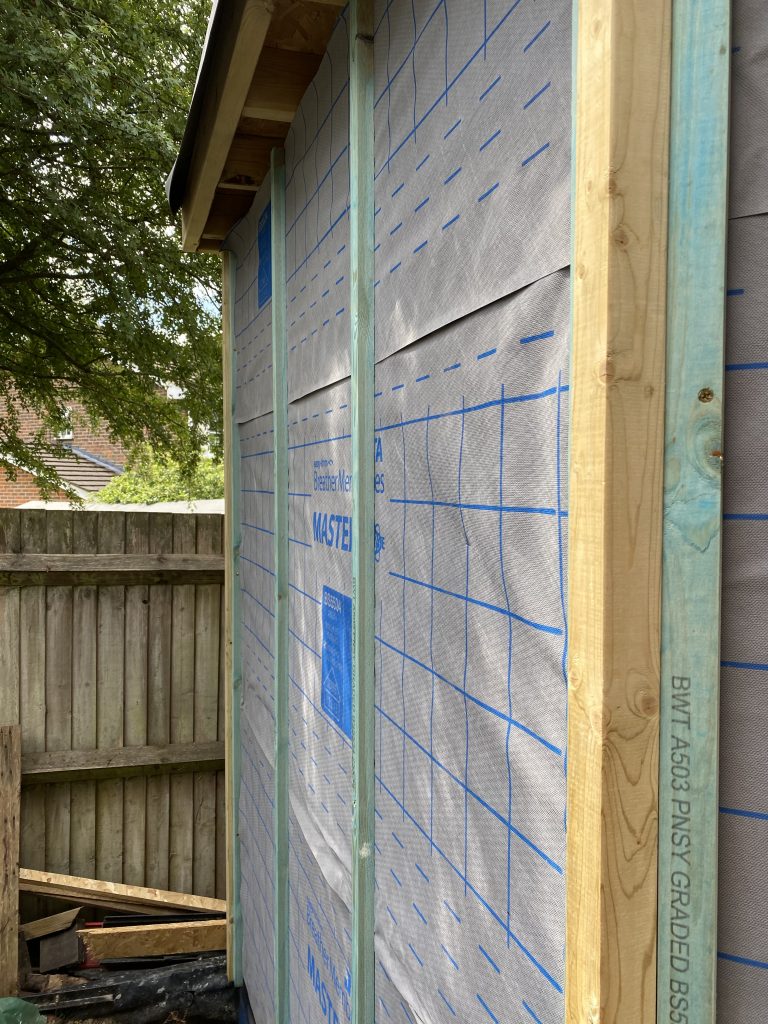
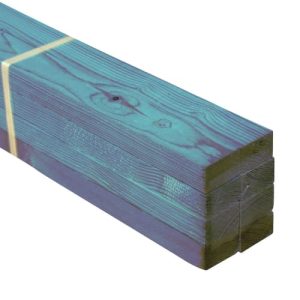
Next, I installed vertical treated timber battens over the membrane. These are often also called roofing battens. These were fixed in 600mm centers and where possible aligned with the studs behind, allowing me to use 80mm screws to fix straight into the stud work. This might not be a necessary step, but considering the amount of weight that will be attached to the battens, for me it made sense to provide extra resilience by going through into the studwork.
The battens create an air gap of approximately 25mm between the cladding and the OSB. It allows air to circulate behind the cladding, which helps moisture evaporate and significantly extends the life of the timber. This combined with the soffits when ventilation holes are added, will allow for 360 degrees airflow around either side of the cladding, which gives it a fighting chance for maximum longevity.
Drainage
At the base of the wall, I have added a drainage strip, essentially a small strip full of gravel, basically like a french drain, to allowing any water run off to escape and freely drain away.
Insect Mesh at the Base
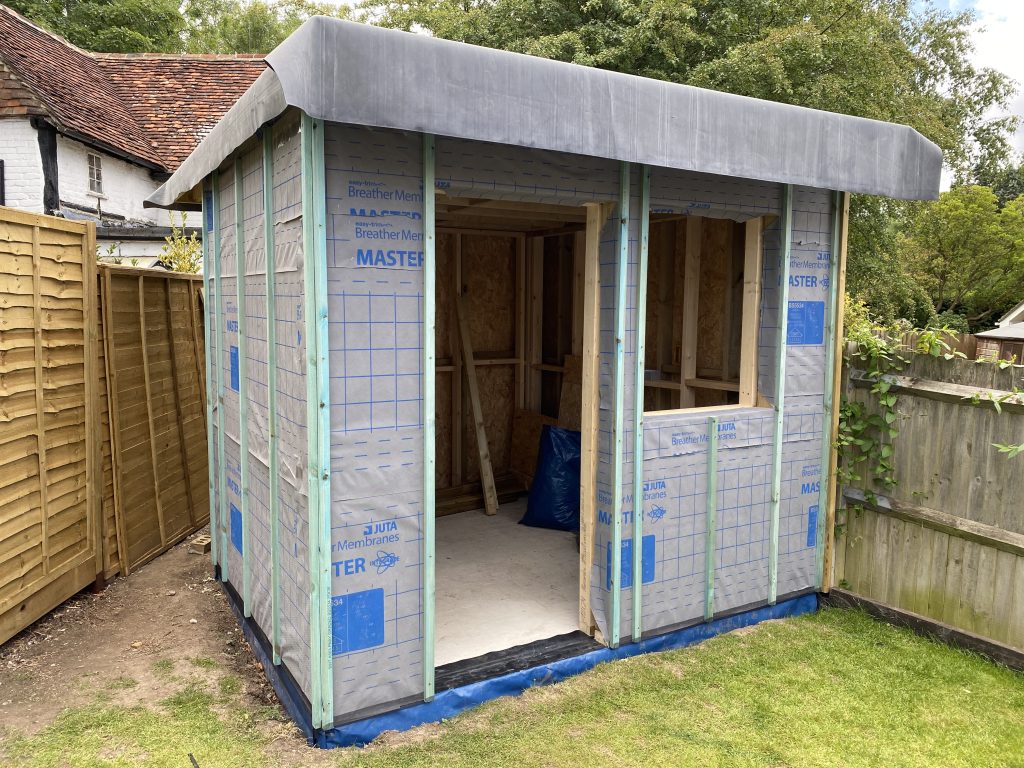
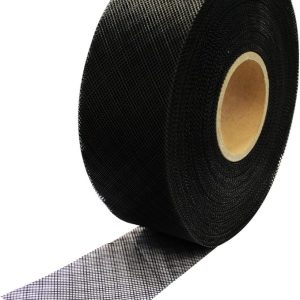
One extra step I am taking is to add some insect mesh around the bottom of the battens. This helps stop larger bugs and creatures from making a home in the space behind the cladding.
First I fixed the mesh to the edges of the room using a stapler, applied the battens, and then rolled the mess back over, creating a U shape, and stapled it to the battens.
Corner Trim and Hidden Fixings
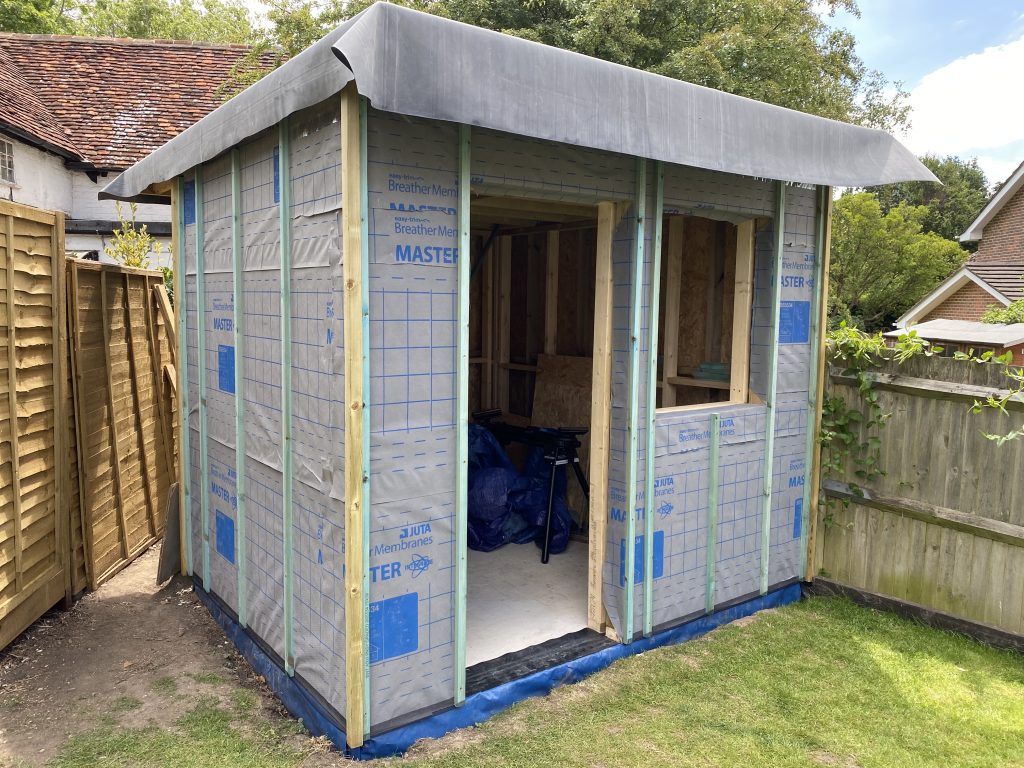
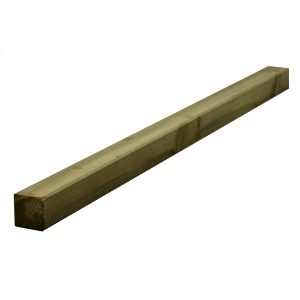
The final step before we come onto cladding in a later stage is to fix the corner trim, which is 45mm square pressure-treated timber. I’ve positioned the roofing battens on the edge of each corner so I can fix through the sides of the battens into the corner trim using 80mm screws — meaning there are no visible screws, which gives a nice finish.
Garden Room Cladding Options and Finishes
With the wall prepared, the next step will be to apply the final external cladding. Common options for garden room cladding include:
- Featheredge timber cladding — a classic, cost-effective choice with a rustic look. This is the option I went for.
- Thermowood or Cedar — premium finishes that offer greater stability and a natural aesthetic.
- Composite or fibre-cement cladding — low-maintenance modern alternatives.
Conclusion and Next Steps
That wraps up the sheathing and cladding preparation phase of the drum studio build. The walls are now weatherproofed and ready for external cladding.
In the next video/article, I’ll cover installing the EPDM rubber roof before finally coming back to complete the garden room cladding.
Products Used
47mm x 50mm x 2.4m Regularised Sawn Treated Timber
Soffit Vent Mesh – 75mm x 30m roll
Treated Timber Roof Batten – 25 x 38 x 4800mm – Pack of 8
Integrated Breathable Membrane 100gsm – 20 x 1m
Spax Countersunk Screws – 4x45mm – Pack of 200
OSB 3 Structural 18mm x 2440mm x 1220mm
Optimaxx Countersunk Screws – 5x80mm – Pack of 350


Leave a Reply
You must be logged in to post a comment.